
If you give my man a saw… he will build me an awesome rustic hanging wall basket from old pallets we have in the backyard! I’m extremely blessed to be married to a wonderfully talented handy man. Eric can build just about anything I’ve asked, for example I got a gorgeous farmhouse table built from old barn wood for our 11 year anniversary. Other great pieces in our house are Eric originals also, but I won’t bore you anymore with my swooning over my guy! Recently we were contacted by Rockwell Tools to give one of their tools a try for a blog post. My husband gladly volunteered to debut his first guest post on my blog without hesitation. So without further ado I will let my favorite man take it from here!

DIY Pallet projects are all the rave right now. I have hunted down many of these gems at the lumberyard. But, I have also discovered that more often than not they can be ragged and worn from the abuse of their purpose. So me, being thrifty, I grab the broken pallets to scavenge pieces from as needed in addition to the nicer pallets.

One day, as I was breaking down a pallet for another project I stumbled across a section of the pallet that, when cut right and then stood on its end, it looked like an old wooden toolbox or milk crate. So, since Johanna needed a project that featured a power tool, I was happy to oblige and decided to show you that today. But first, a little about the tool:
![]()
Rockwell Tools is a familiar name in the tool world, so when she was contacted by them I was excited for her (and me!). They have an amazing holiday promotion taking place right now. So for your last minute gift ideas, be sure to head over to their website Rockwelltools.com and check them out.
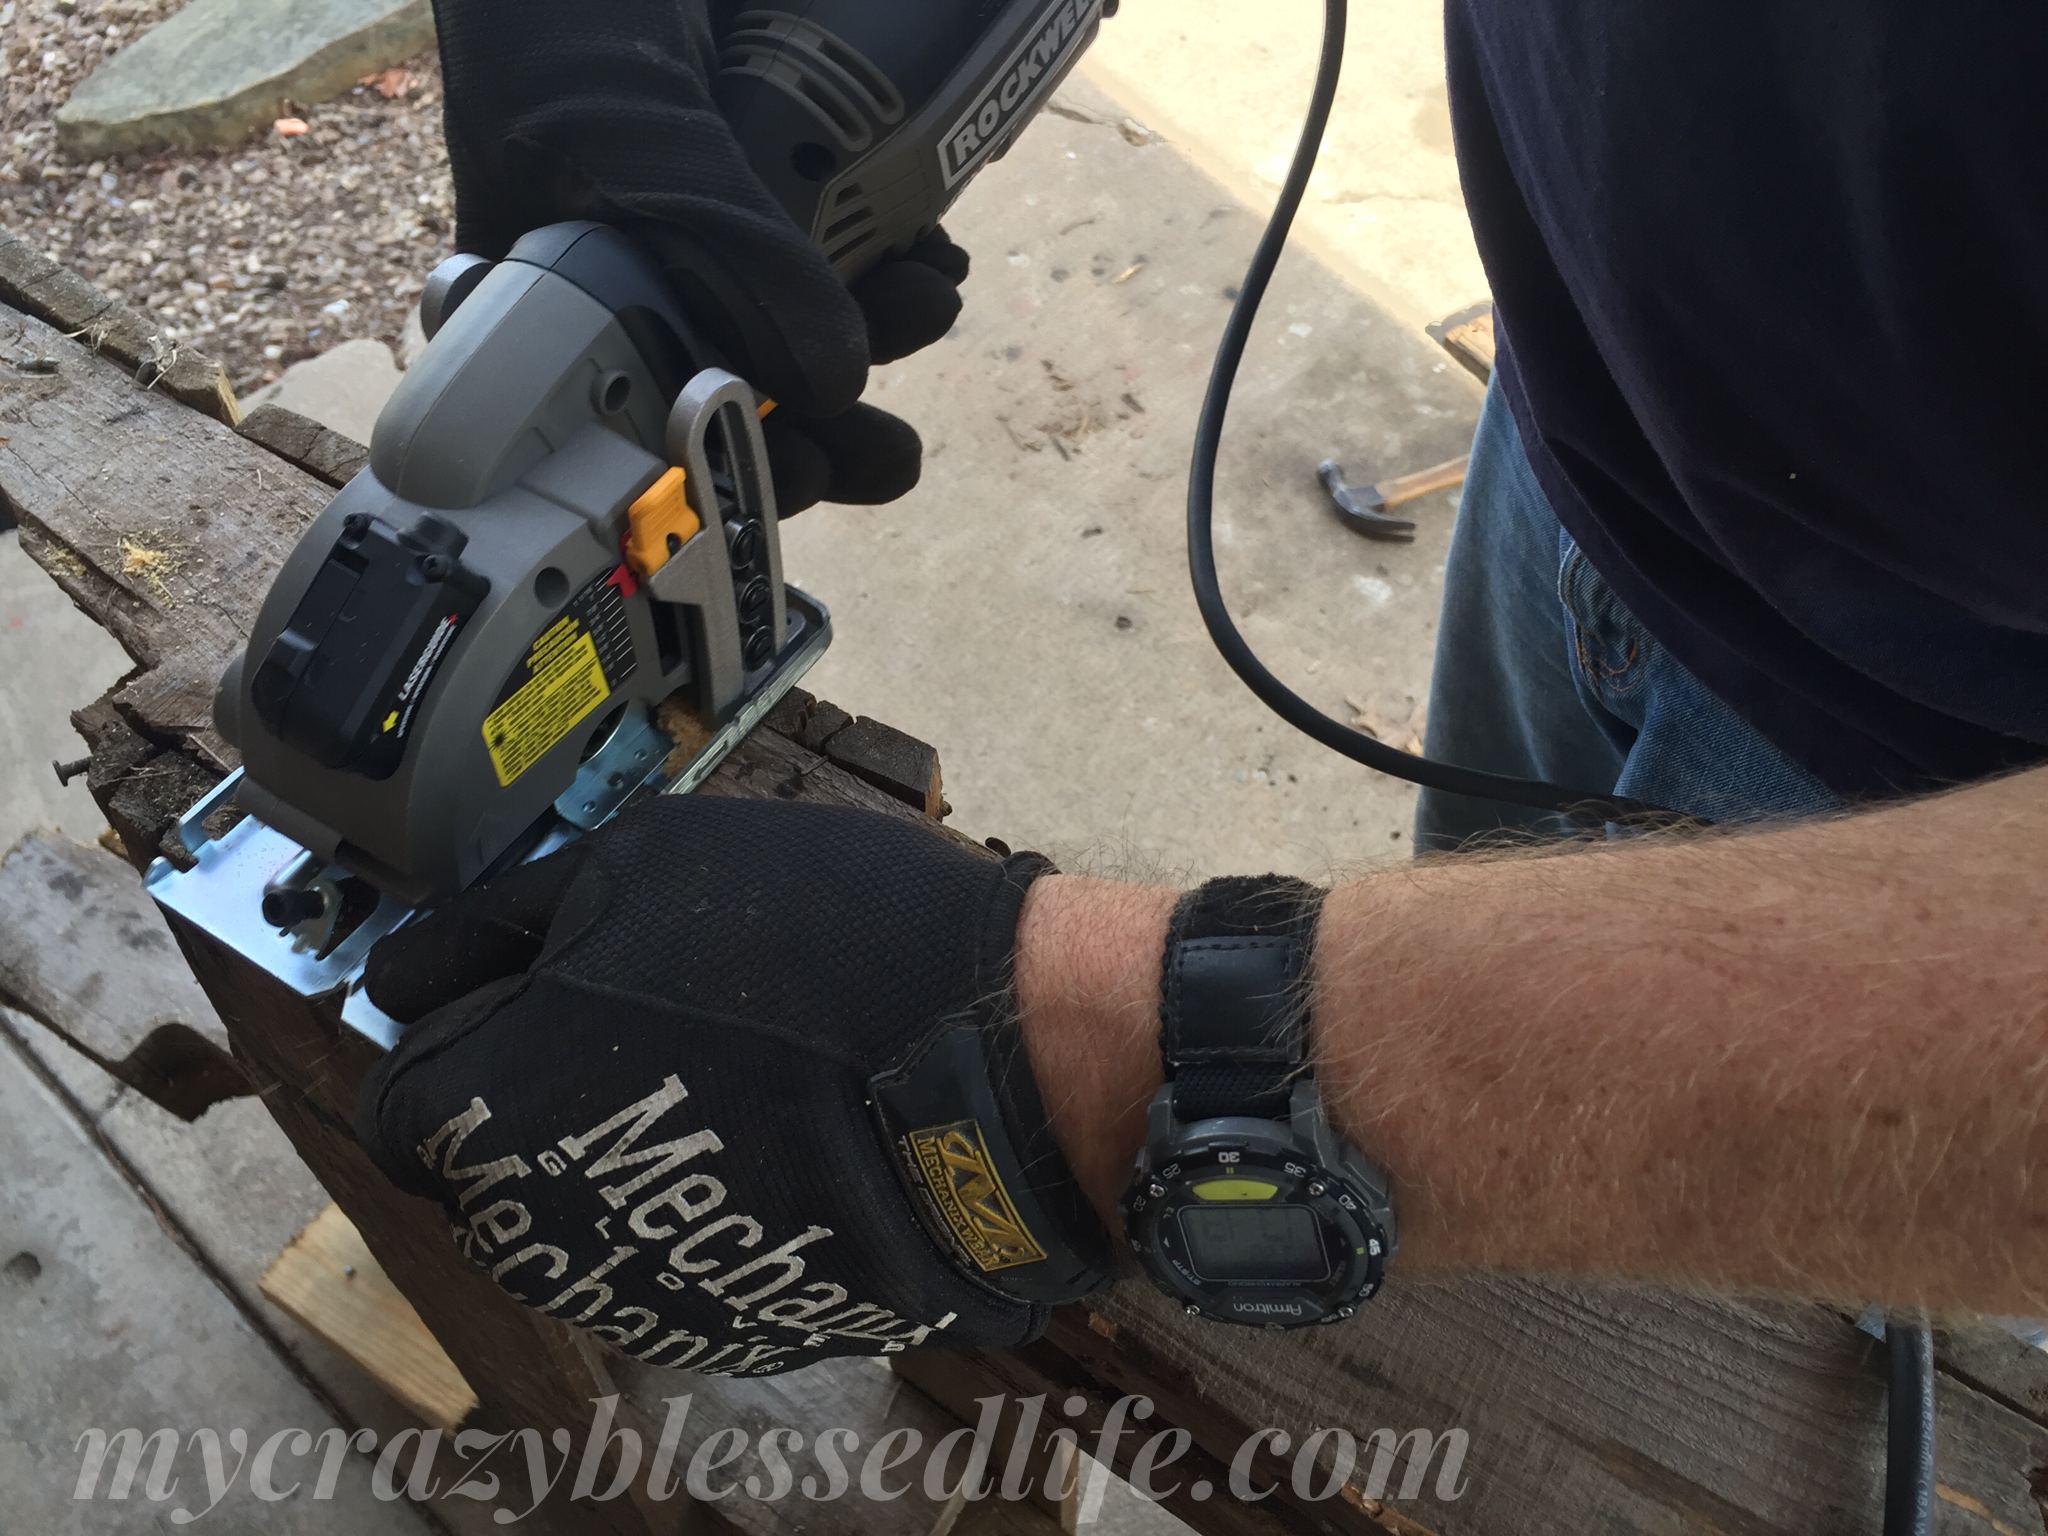
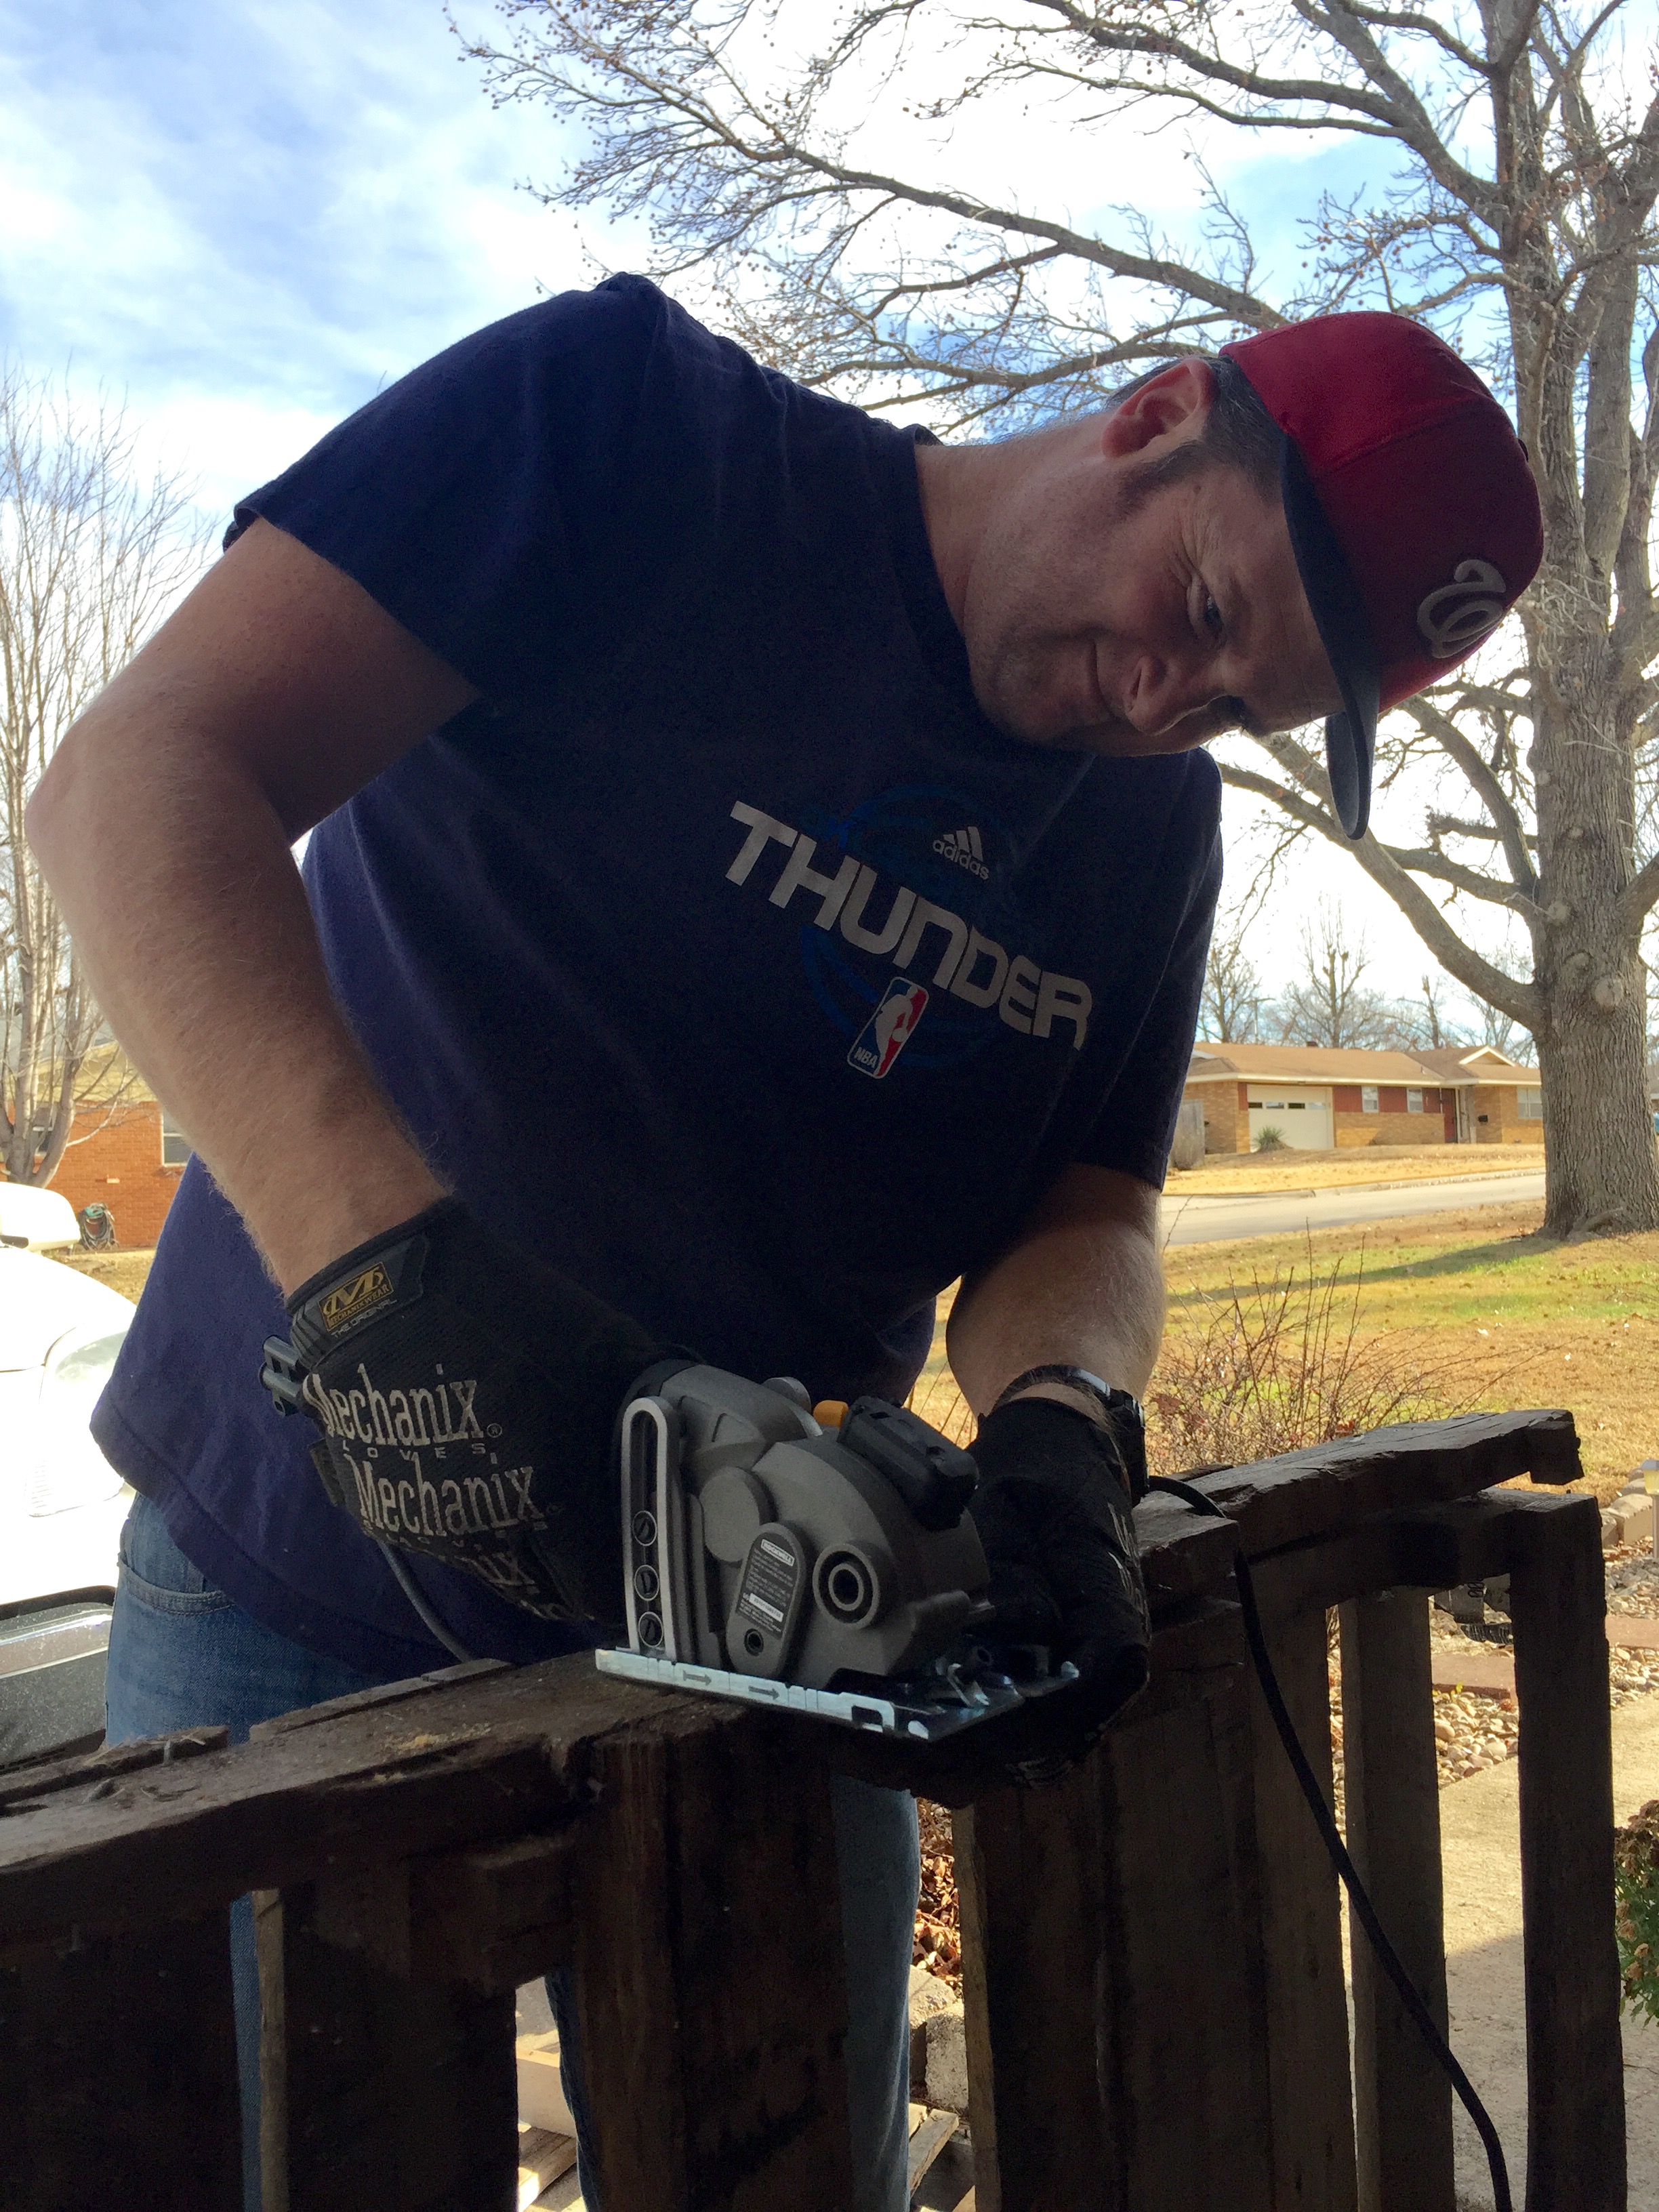
The tool we chose from their arsenal is the Versacut. This saw is a compact circular saw with a lot of power. Equipped with a laser guide I was certain to stay on my mark for the long cuts.

It was an early Christmas present for me when this beauty arrived in the mail. Here you see everything that comes in the box with the Versacut. Included are: three 3-3/8″ blades for metal, wood and ceramic, a guide for straight, parallel cuts, a plastic guard for the “foot” of the saw to protect ceramic tiles from scratching while cutting, a vacuum hose connector, the tools to change the blades and a really handy bag to store everything in.

The saw has a sturdy feel to your hand and the motor has a surprisingly strong amount of torque when I first pulled the trigger. Once I put it to work it felt as strong as a large full-size circular saw and noticeably more powerful than my battery powered circular saw, but with a fraction of the weight.

One feature I really enjoyed and found useful was the plunge cut that lets you line the saw up right where you want to cut, squeeze the trigger and just push the saw straight down into the wood and proceed. I could see where this would make a lot of jobs easier and more accurate since you’re able to accurately control the depth of the blade with a depth gauge right on the side of the blade for quick setup.
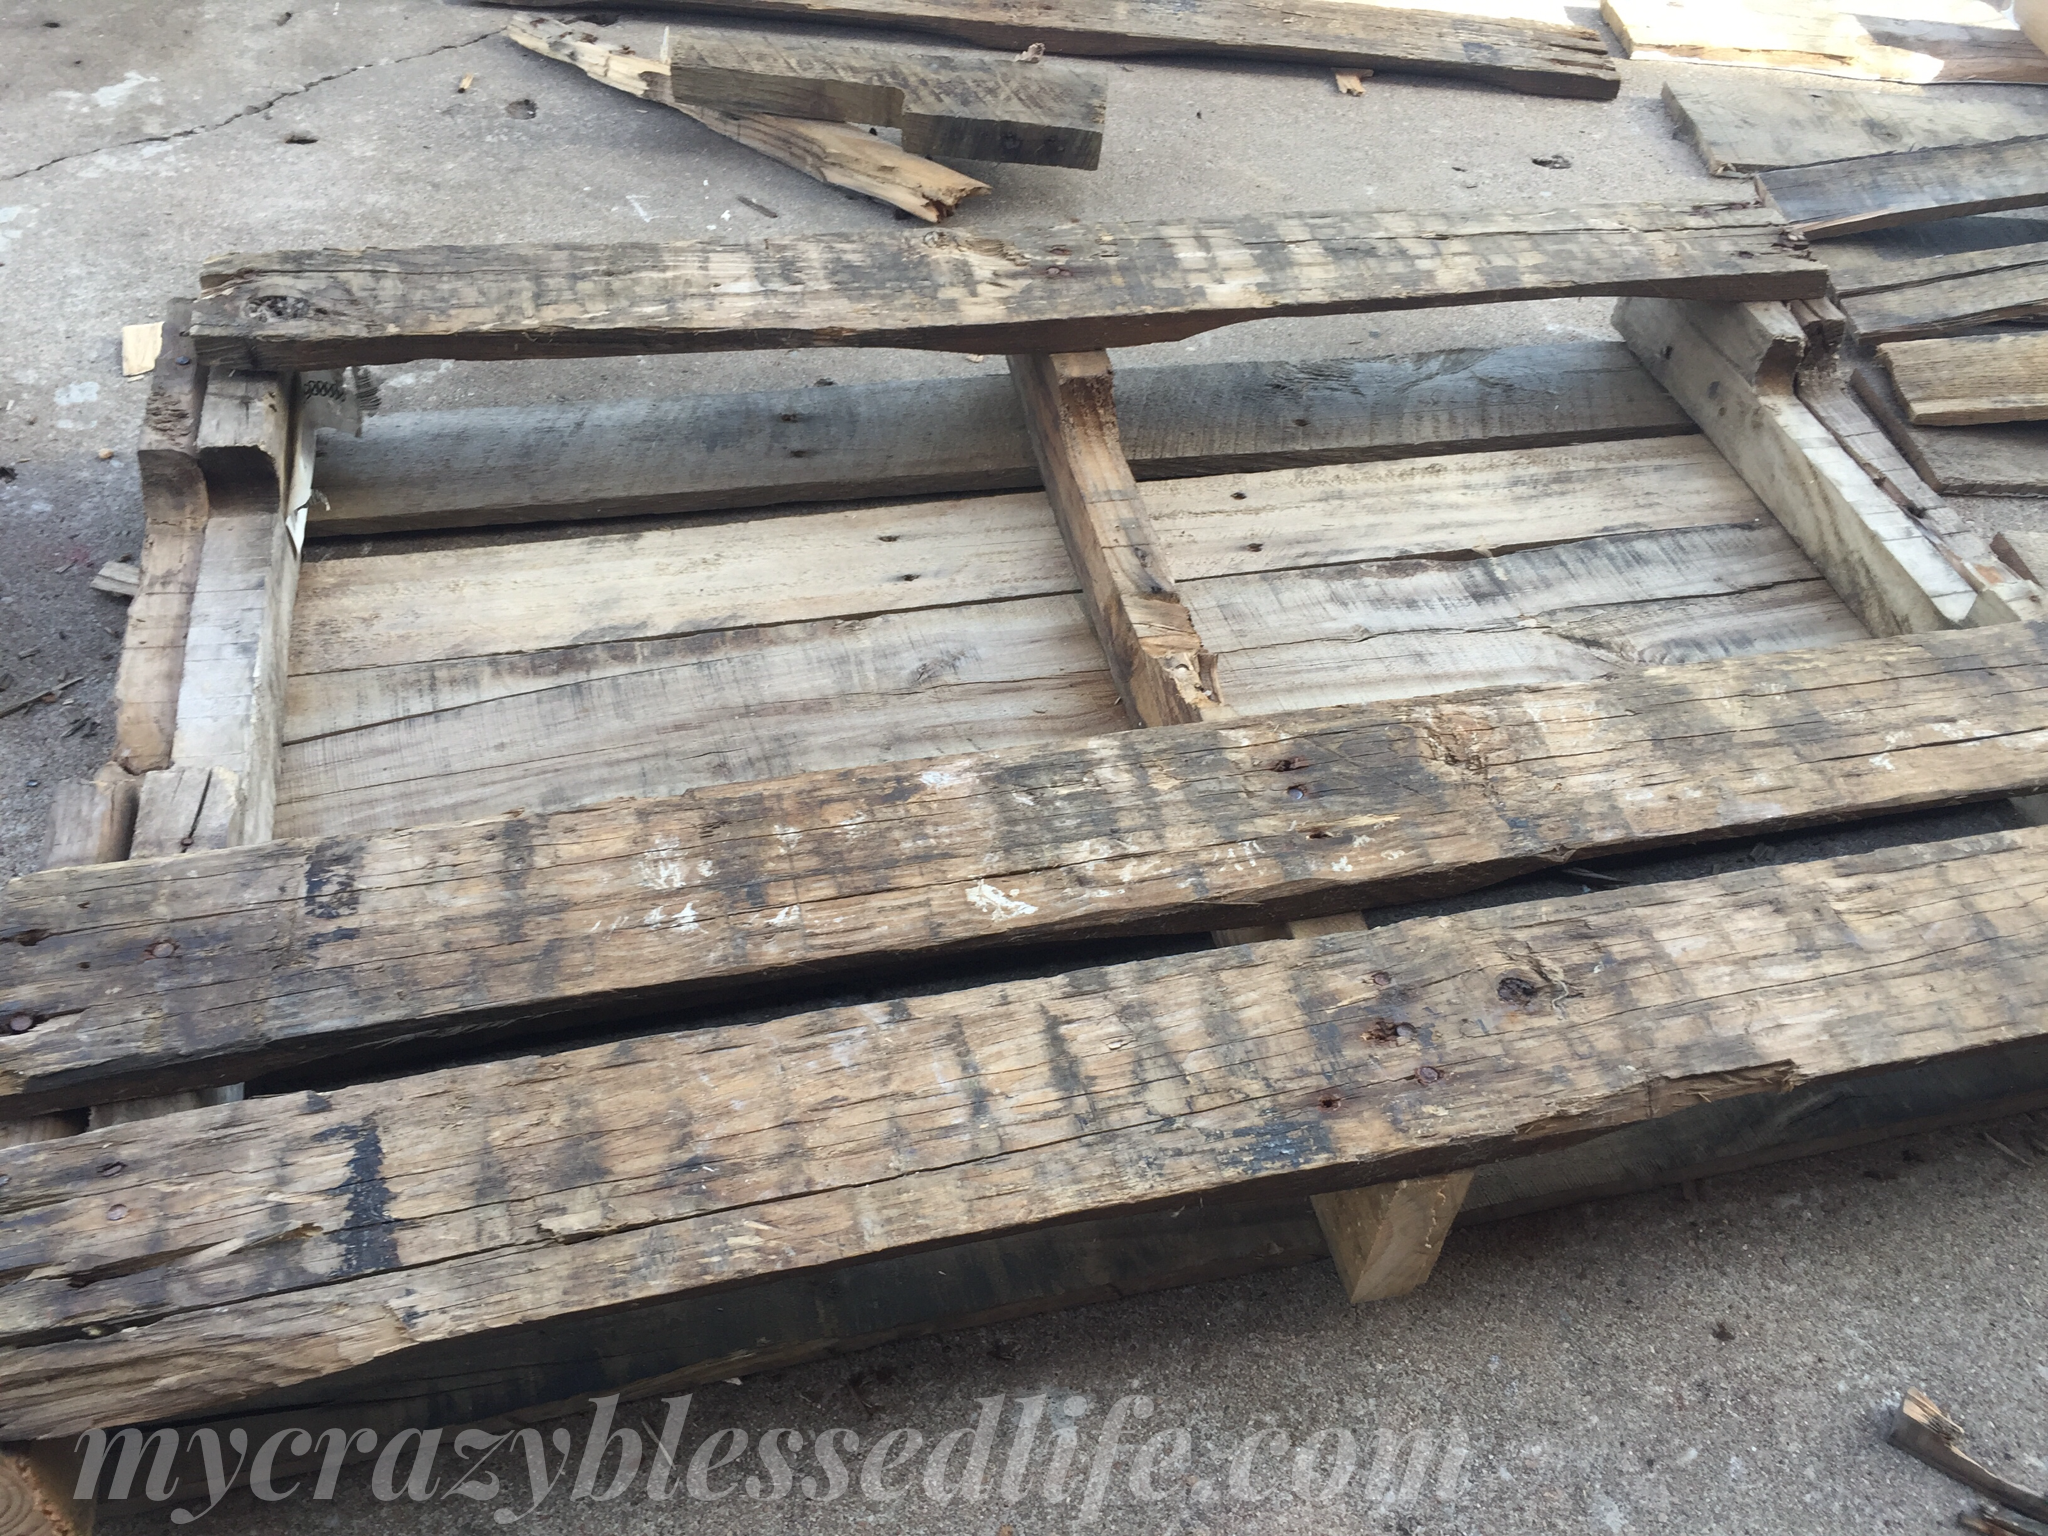
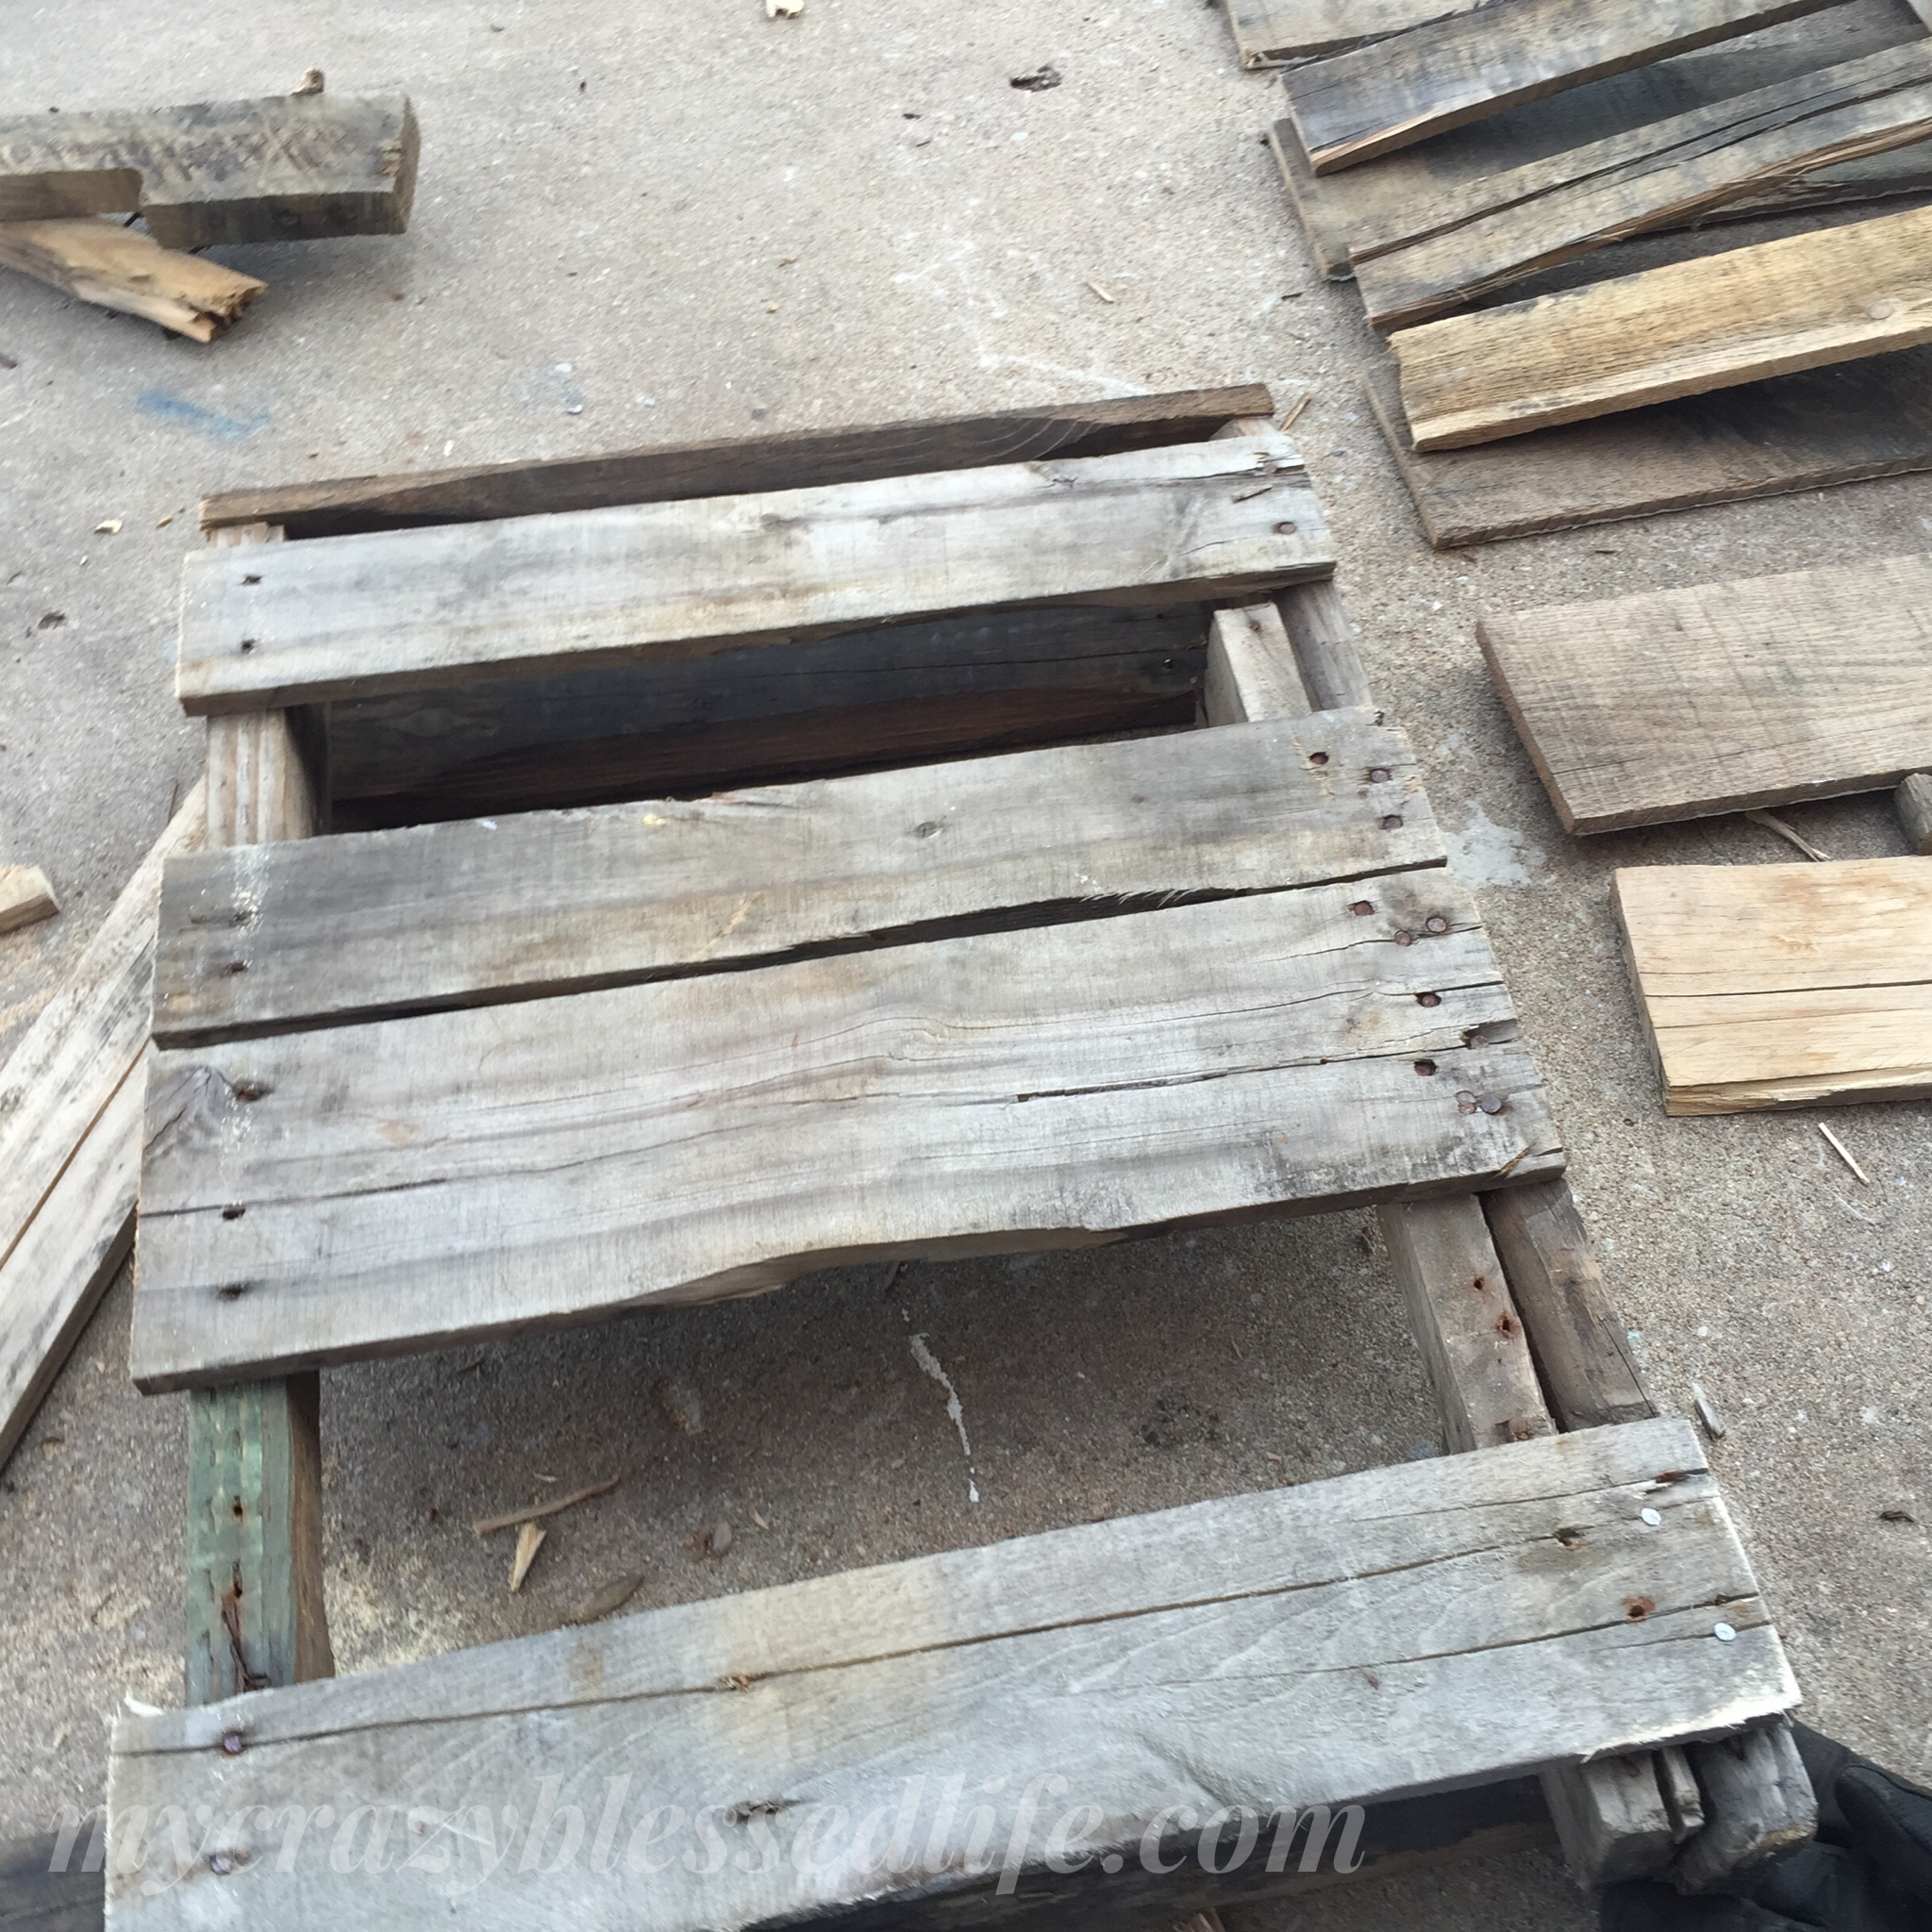
Ok, now on to the project: a wall basket made from a broken pallet. First thing you need is a pallet that is broken or one that you don’t mind hacking up with a Versacut. If you’ll notice back in the first picture of my pallet, you can kinda see how one corner is broken, I want to get rid of that.
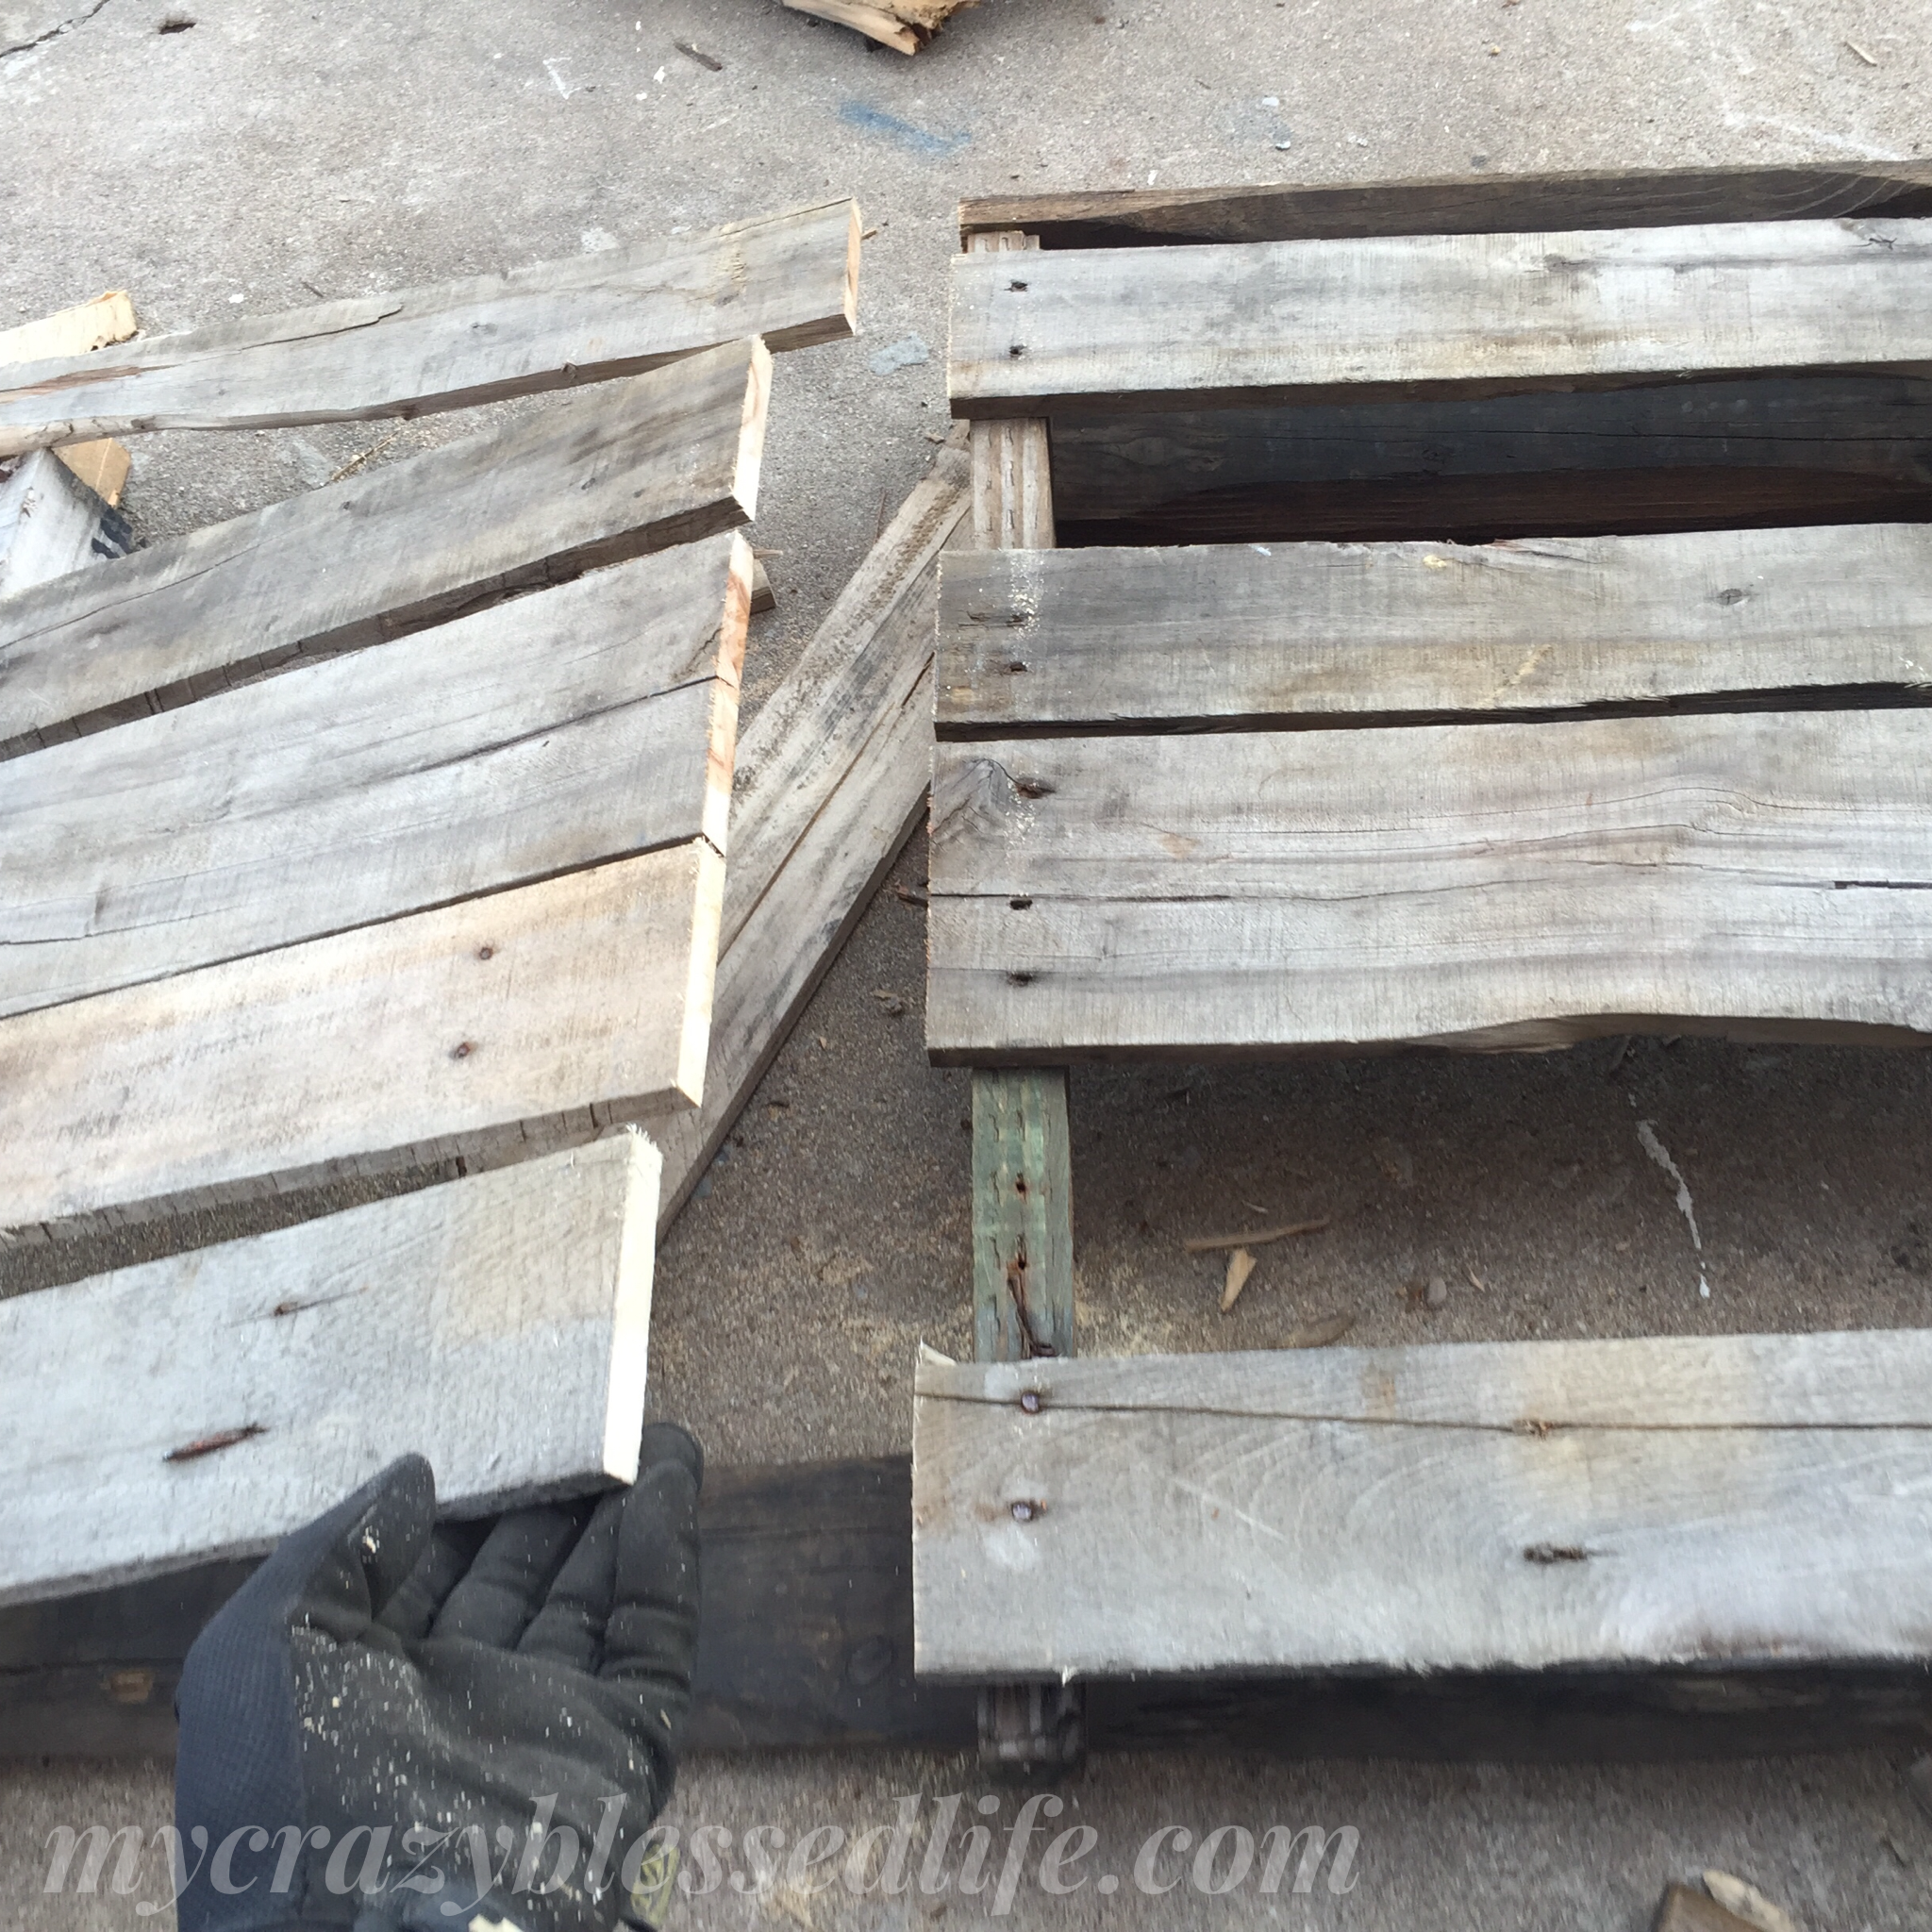
In order to cut the pallet in half and remove the unusable portion I had to remove several of the slats to get to the frame. Due to the wear and tear this pallet had seen it was not square nor were the slats parallel, so this was a great way to square everything back up for final assembly. Once I had trimmed it down to the good half of the pallet I re-nailed the slats back onto the frame. For the rustic purists, you’ll be glad to know I was able to reuse the original nails, too!
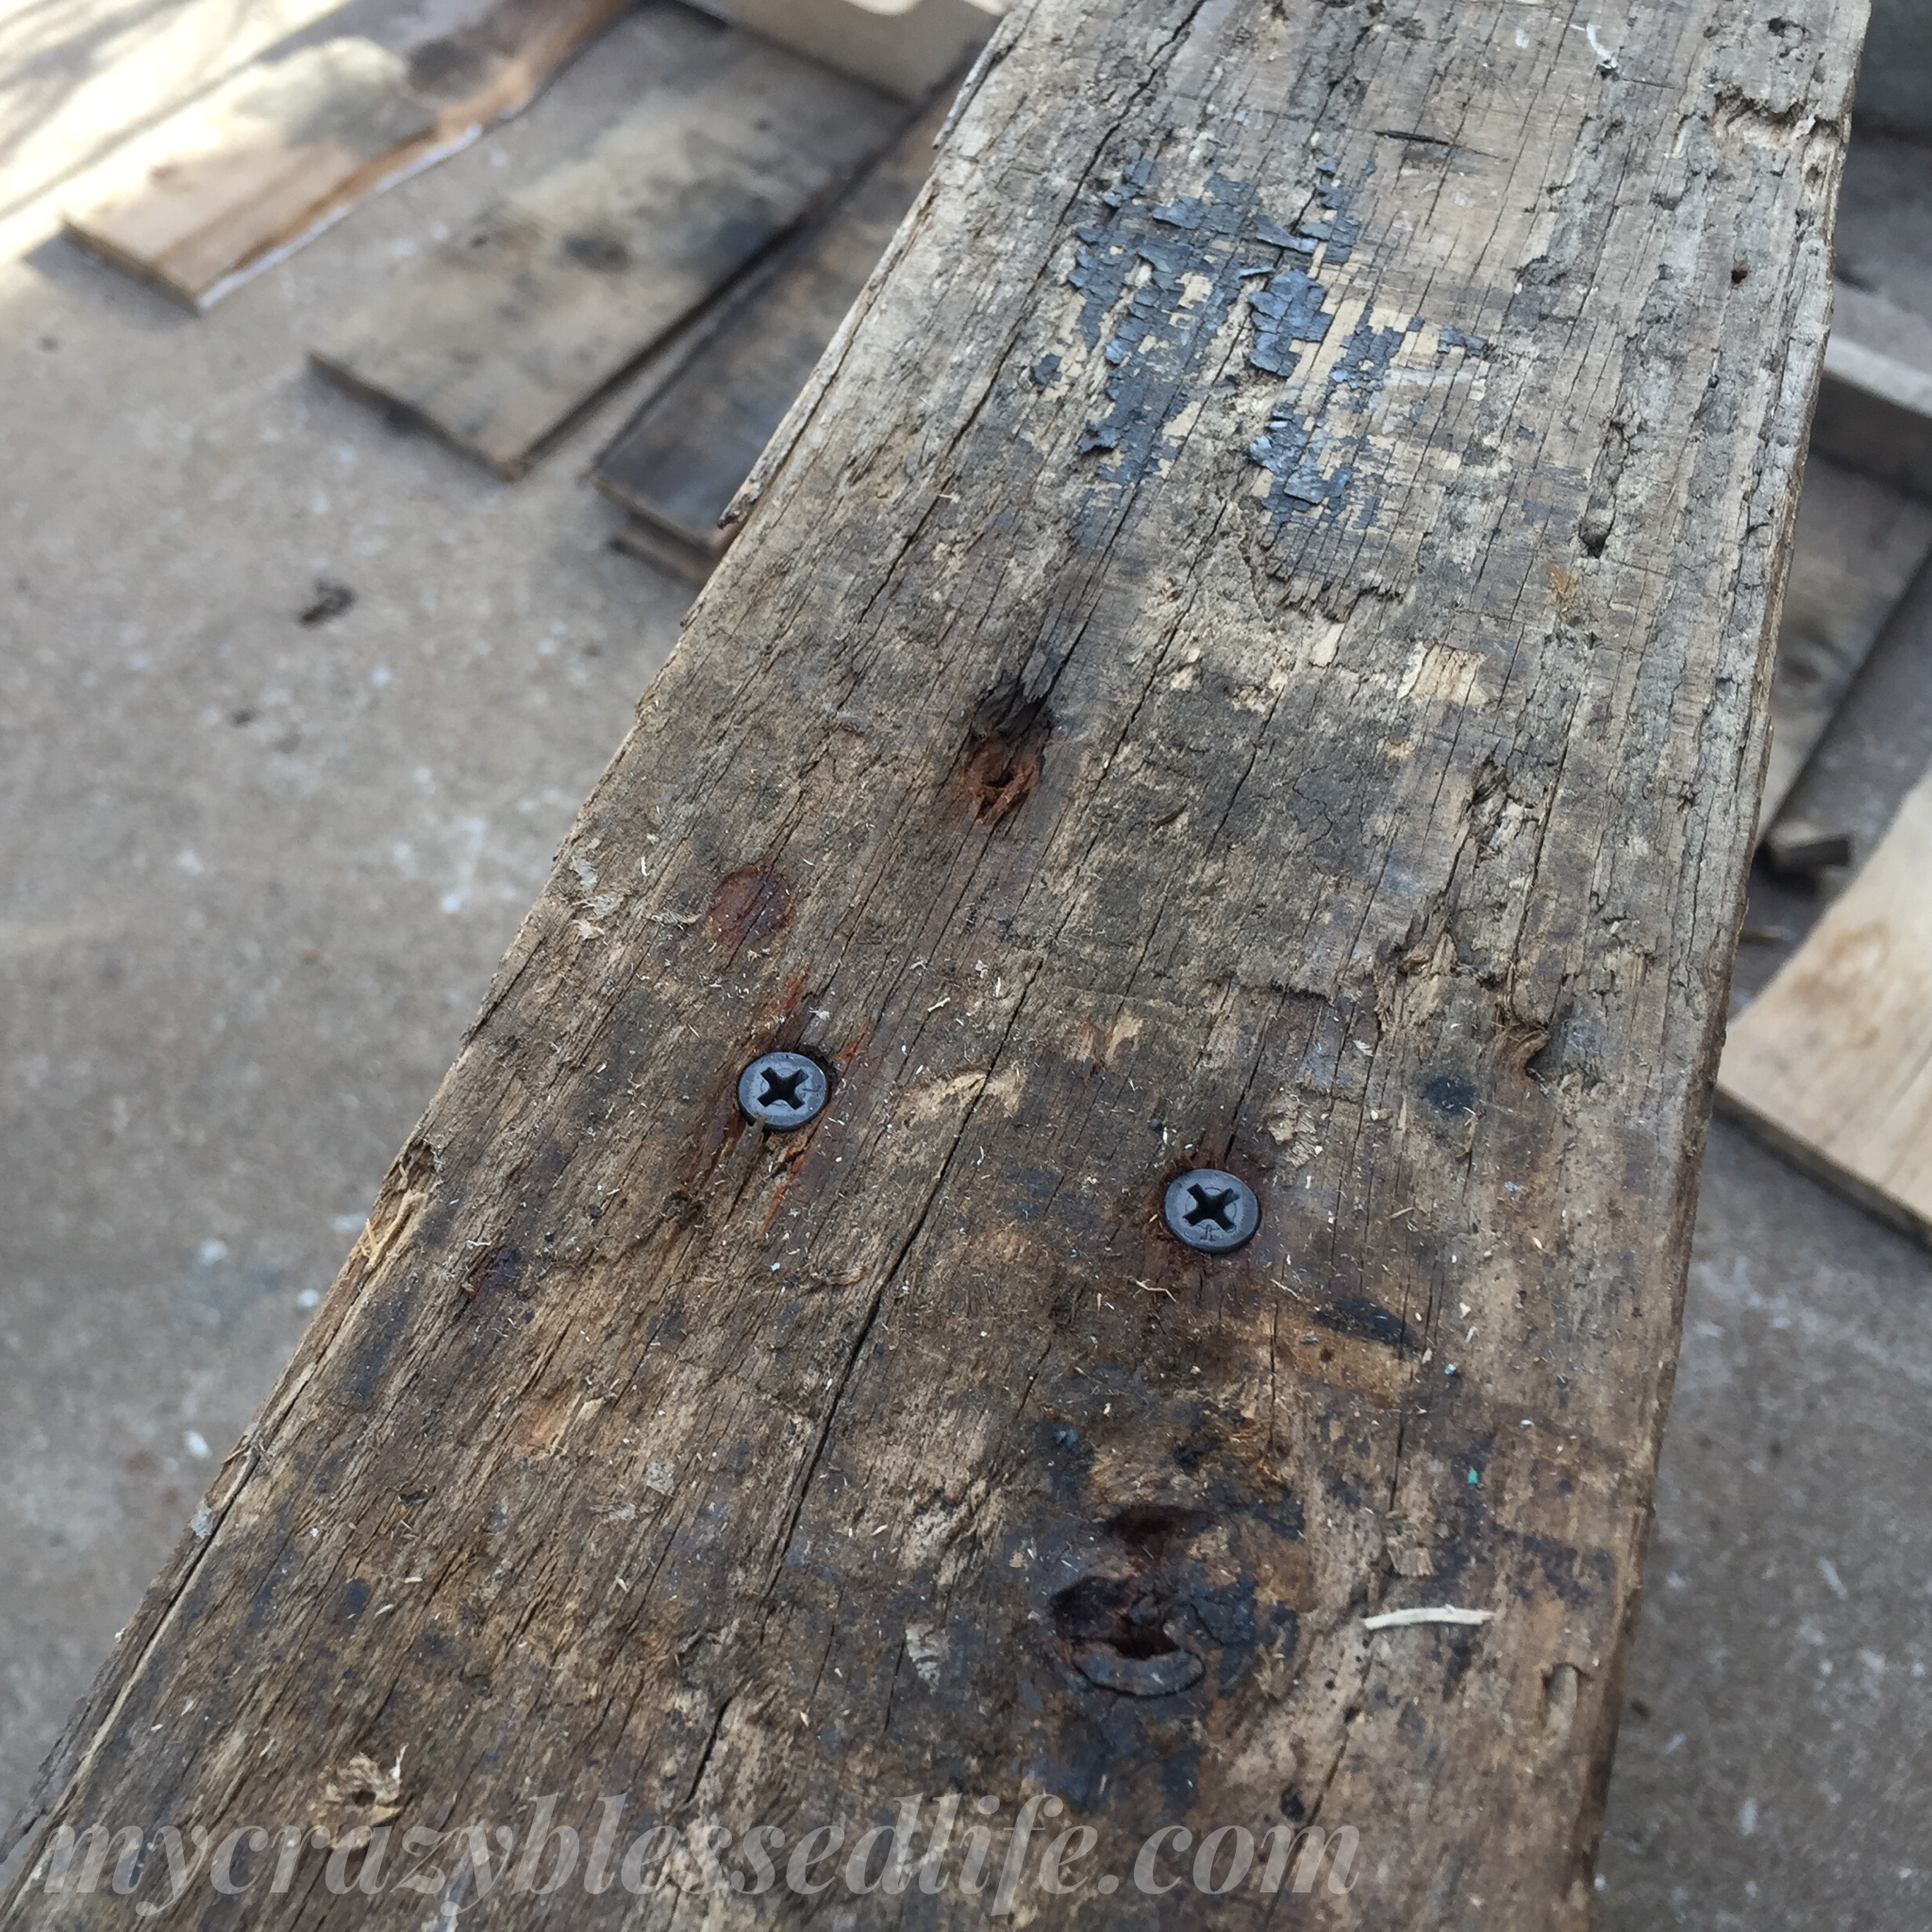
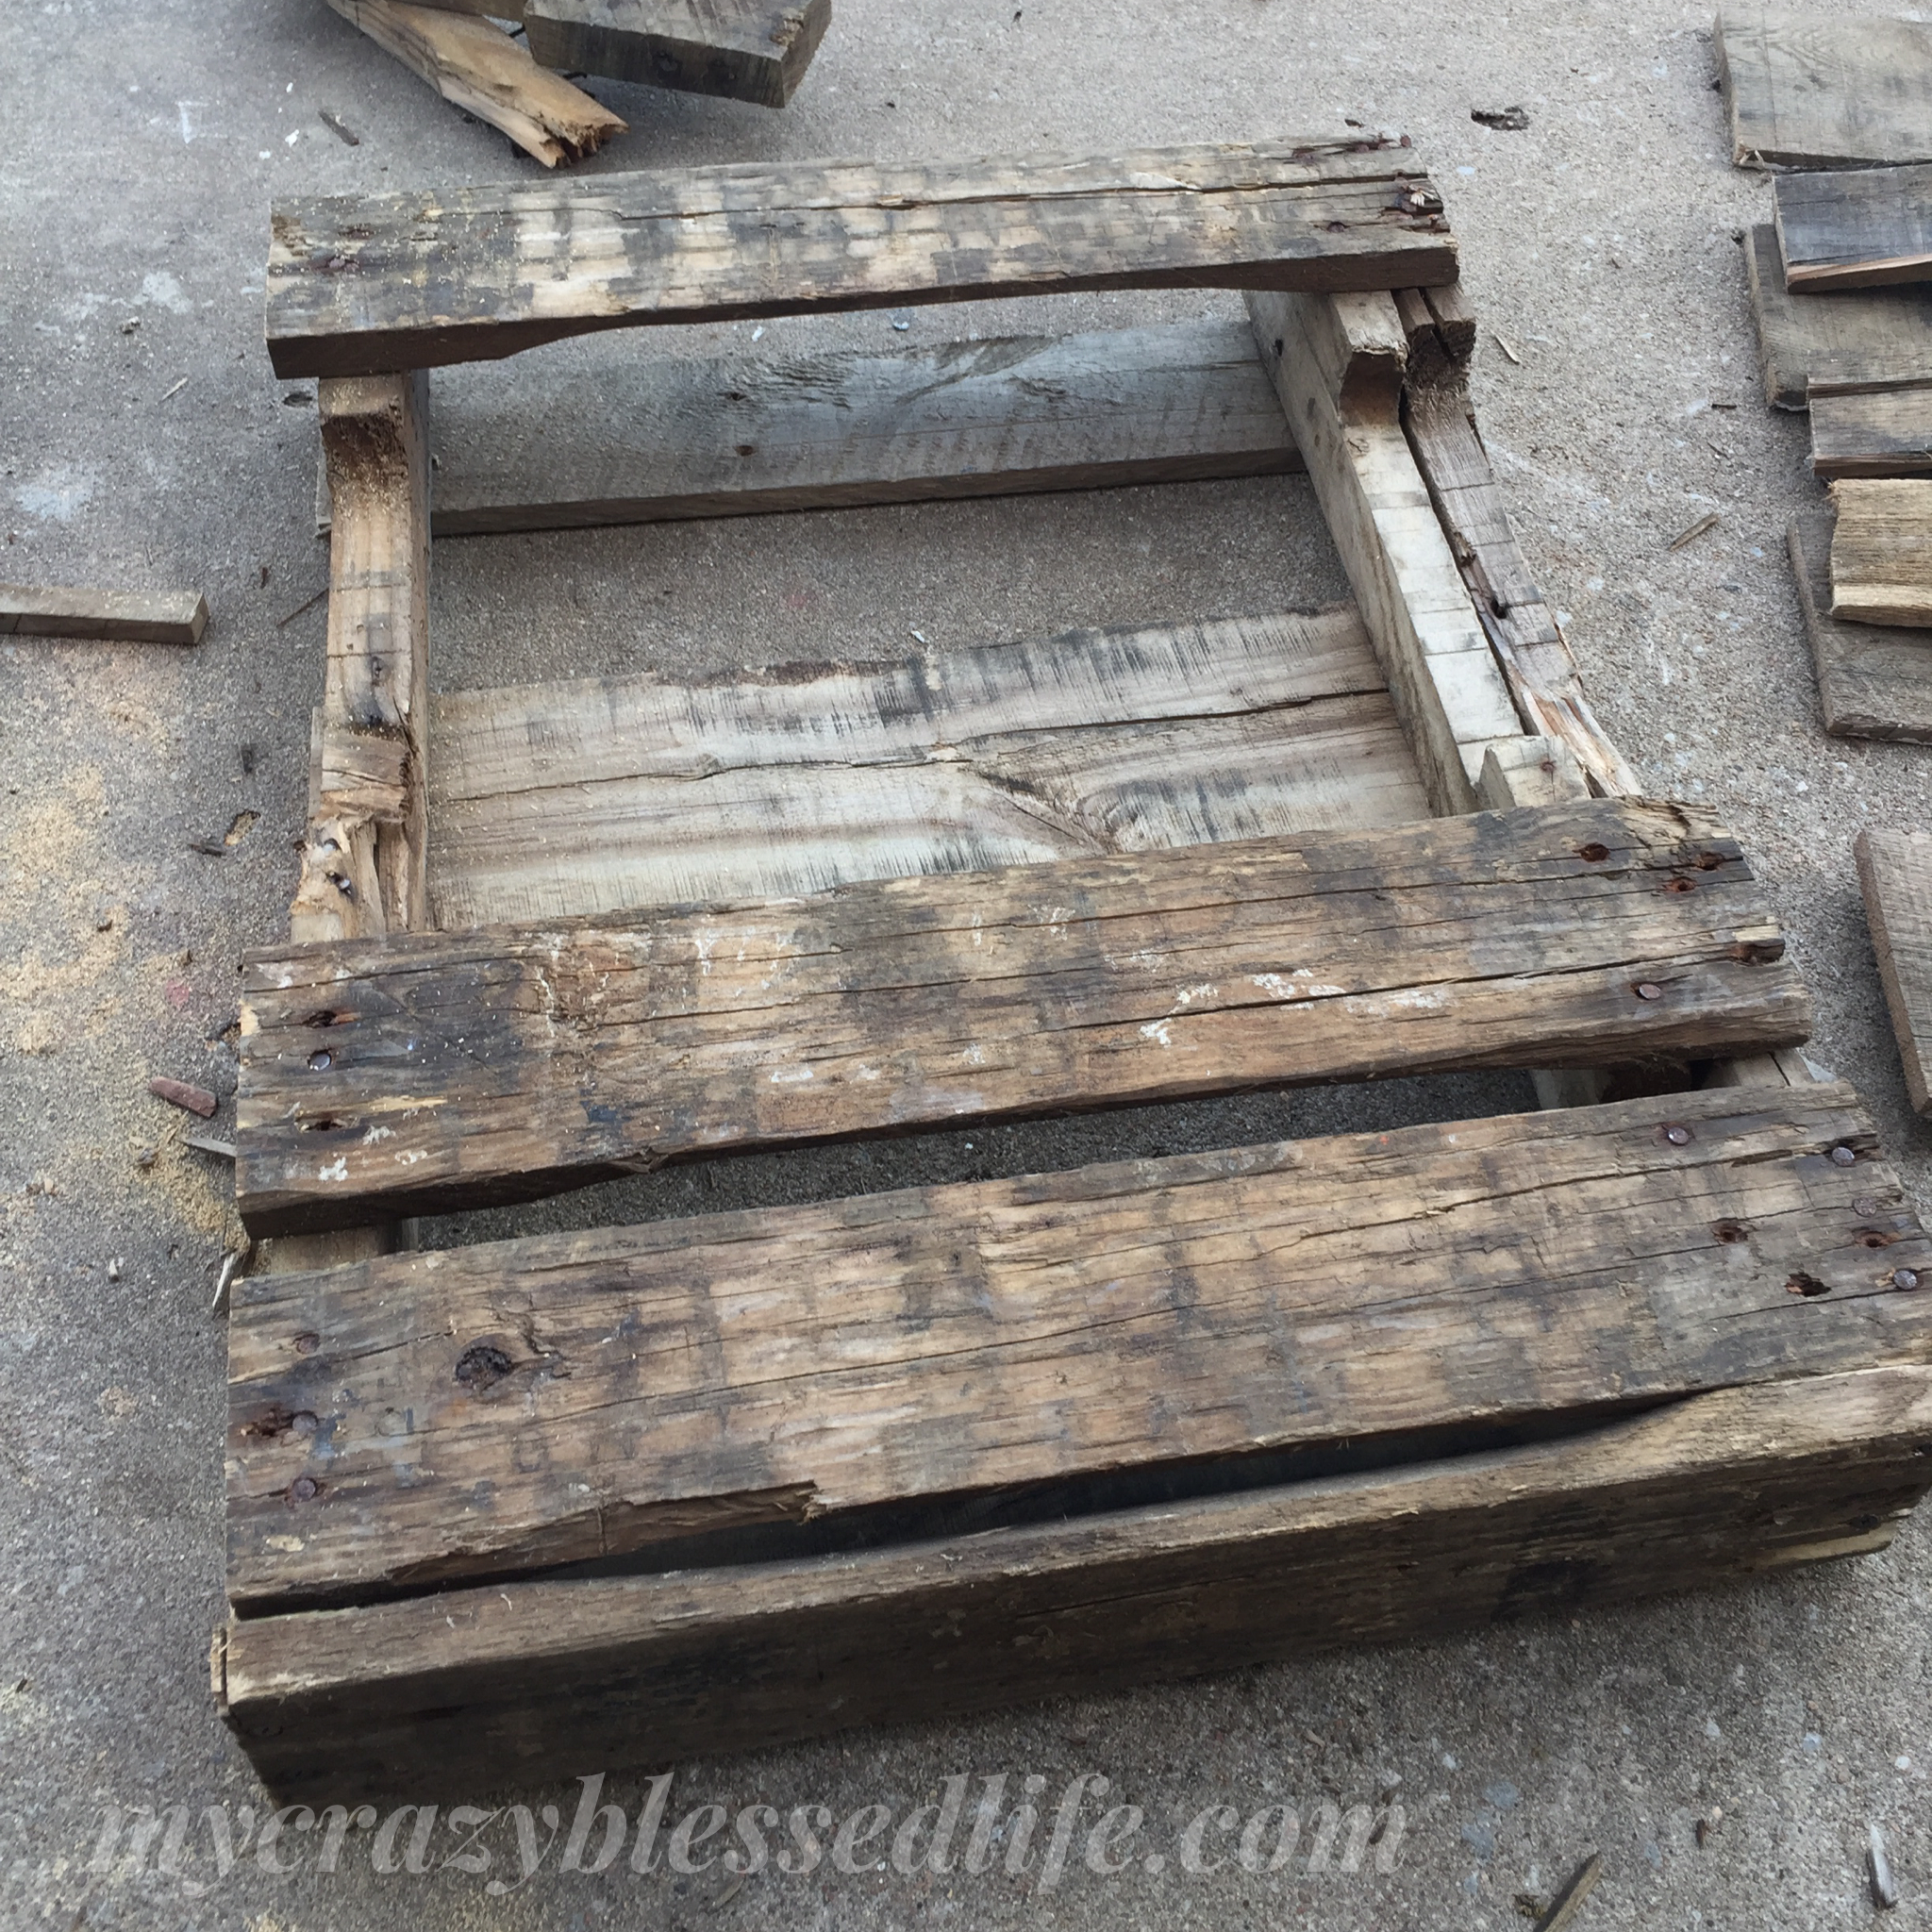
Then I took a slat that I removed earlier and placed it across the bottom of the basket (what actually is the end of the pallet). I used new 3″ wood screws here to attach to the ends of the frame. I figured that since this will actually have to hold some weight depending on what we store in the basket I ought to use something more sturdy that some old, rusty nails.
Then I used the Versacut to trim off the excess, using the frame as my guide to make the sides of basket.
Below is the back side, the side that will hang against the wall, of the basket.
The next step is to flip it over and cut the pallet again across the cutouts in the frame designed for the forks of a forklift or pallet jack.
Once I did that it is pretty much finished. The first one I accidentally made had a distressed whitewash that my wife had done for a different project and it was awesome looking. Here is where I leave you to put whatever finish or paint on the pallet of your choosing to match the room you’re hanging it up in.
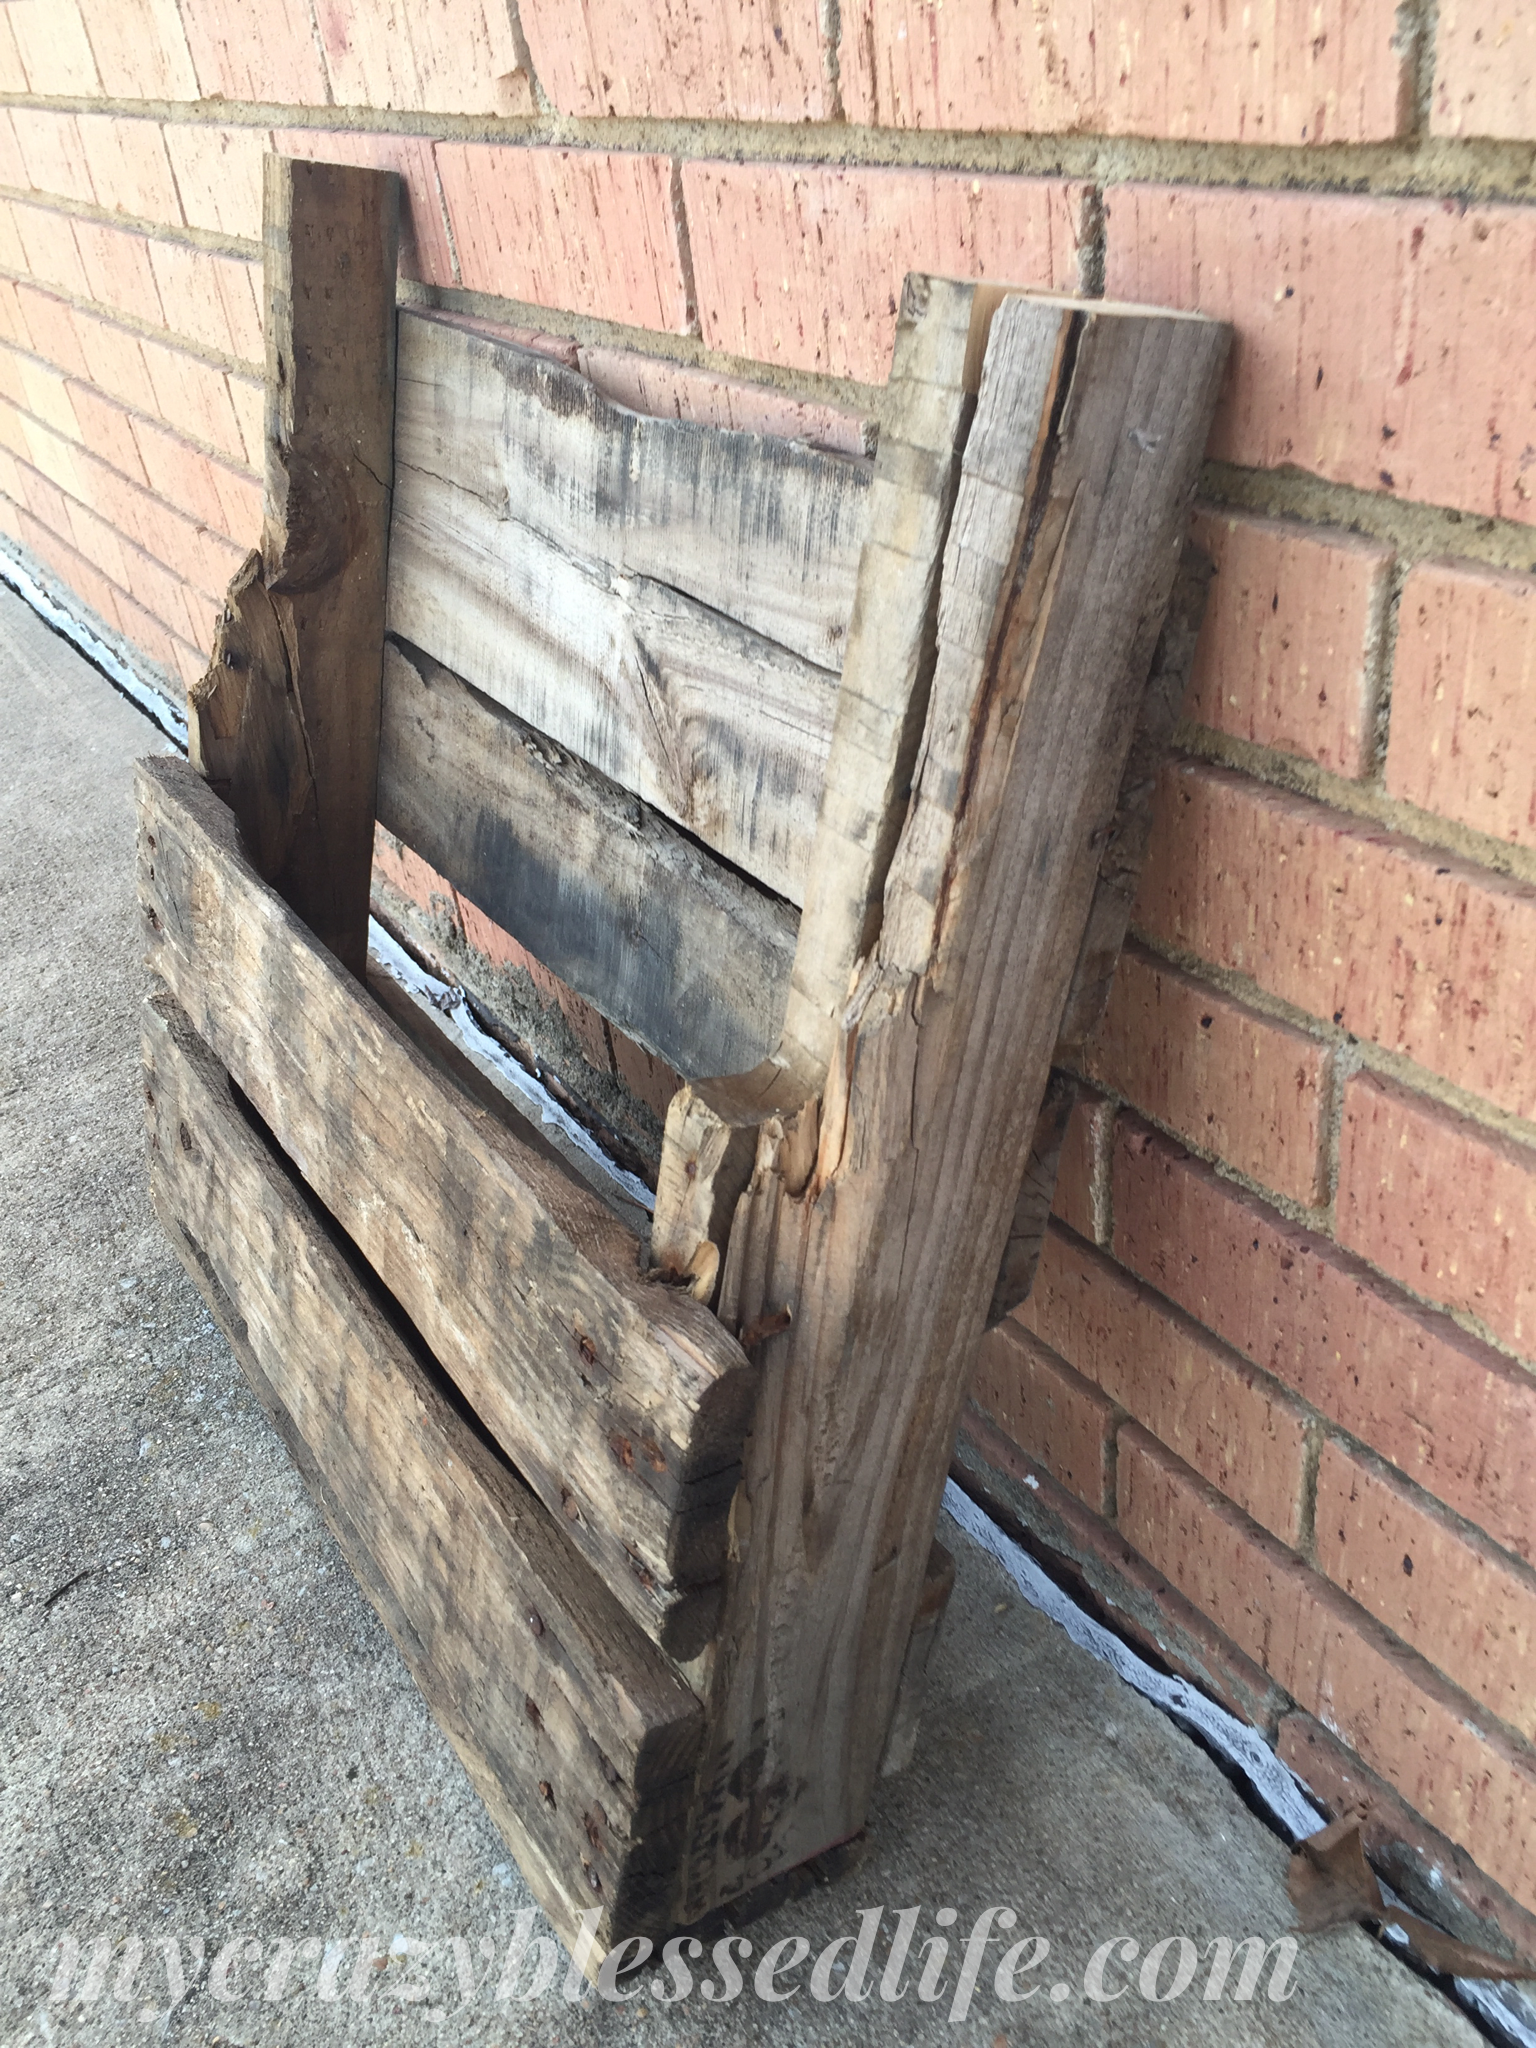
The size of the basket is great for jars or bottles and it has a great beat-up, rustic look to it, whitewash or not.
I will spare you the technical details in my post, but I will direct you to Rockwell’s informational brochure on the Versacut for your perusal here.
I want to give a HUGE shoutout to Rockwell Tools for rocking out this DIY project with me. The Versacut truly is an extremely versatile tool that is a must have for any DIYer. Do yourself a favor and get a Versacut or any one of Rockwell’s other great power tools and accessories this Christmas. Give it as a gift or get it for yourself. You won’t be disappointed either.

Make your momma proud!
Eric
P.S. This is Johanna again… quick adorable photo of my handsome as he is handy hubby working on this great project!
We use our basket as a mail holder in our entryway and it looks great 🙂 Thanks for stopping by!


Great antique-type look.