
Today I’m sharing with you one of my favorite DIY projects, because I get to use it almost daily. For a long time I loved mineral powder face makeup because of the sheer and matte look it gave my skin. I also have combination skin with some drier parts and a few oilier patches. Mineral powder helped me with the oily parts while not drying out the dry parts of my face. Only one problem with mineral powder, it was kind of costly. So after research I came up with my own version for pennies!

It was so simple and I’m in love with the great results! Satiny smooth finish, no oiliness all day and the cost to me for enough powder for a few months was less than .25 cents :).
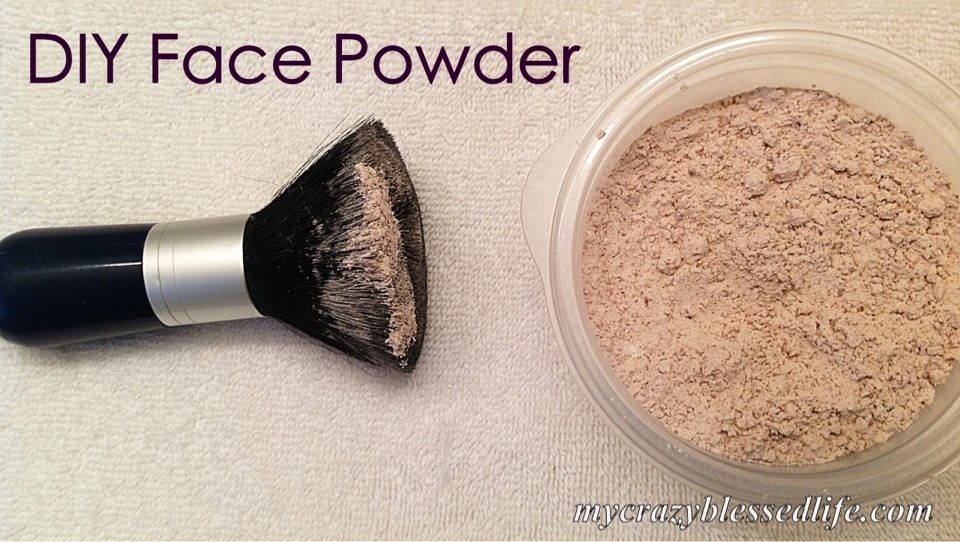
Ingredients:
Cornstarch
Cocoa powder

No seriously… that’s it! I didn’t give exact amounts since everyone’s complexion is different and even I don’t measure much. I start with two heaping Tablespoons of cornstarch and slowly add about 1/2 teaspoon of cocoa powder at a time. Until when brushed on my face the powder blends well with my skin. This last time I measured so I could blog it and I used about 2 1/2 teaspoons of cocoa powder in two heaping Tablespoons of cornstarch. When mixing I use the back of a large spoon and press the powders together. I keep pressing and stirring until the color is consistent throughout.
I store it in a small plastic container with a secure lid. I swirl a bit on my brush inside the lid for good coverage. I love this powder and will save tons while still getting the look I want from my homemade powder. Even in sunlight the color and finish seems perfectly natural. I’ve even seen many people say this has comparable results to the expensive mineral veil product people love. Thanks for stopping by 🙂
Johanna


I’m going to try this! Great idea I love it.
Wow! Look great, save money, and smell delicious…….perfect. I so have to try this! Thank you! I really enjoy reading your blog!
Whoa, wearing cocoa powder all day, can’t wait to try this recipe out. Thanks! Came across your blog on pinterest looking for a fondant recipe. Thanks for your ideas, love your ideas! God bless.
This is wonderful…Im going to try this asap!! Im a make up artist on the side, I may be able to use this when I have a make up gig. Love the idea 🙂 God bless!
I tried this. Love it. I will use this over my foundation. It is more like a translucent powder. I did add a little cocoa and I added a little foundation. It really leaves a nice matte finish. I won’t be buying powder again! Thanks so much!
I’m so glad you like it also 🙂 I love mine and will never be buying face powder again either!
Thank you very much for sharing this to every one. I will try it ASAP.
Hello! Do you use this instead of foundation, or in addition to?
Thanks!
I tried it..Love it..It smells and taste good.BUT MORE IMLORTANT it made my skin feel so silky.never buy powder again.THANK YOU.
I just made this and tried it. I used more cocoa as I want a more bronze look. It’s great!! Wondering how it would be on the pores though. Anyone know? Oh and I also used it for foundation by adding a few drops of grape seed oil in the palm of my hand and some of the powered mix. It looks strange..like melted chocolate but soooo nice as a cover up. Love it!!
Wondered if it would make you break out?
Its never caused me any acne.
Great idea
Thank you!! Just made it and I love it. I’m taking back the Mineral Powder I just bought!! Thanks!!
Great idea, I am surely going to try this, thnx for sharing I really love to read ur blog.
So easy to make and with my sensitive skin, it works great! Goodbye Clinique $30 face powder! This stuff smells wonderful, too!
Could you use chocolate milk powder mix?
I was a little sceptical at first, but after trying this over my liquid foundation this morning, it was beautiful! Not heavy and completely flawless! I also was a bit unsure about the cocoa powder as I usually don’t like things like cocoa butter, but I can’t even smell it. I am definitely a convert! Thanks for sharing 🙂
I used mineral veil all the time but it got to expensive when I retired. This sounds great, trying it tomorrow.
I just recently made this and have currently been using it for the past week and also love it. I love saving money as well as having something chemical free to add to my face.
Good morning Johanna I came across your DIY mineral powder foundation.I am African American woman i also have combination skin.I am bearly sixty I do not like fuss over foundation i like keep it simply.All the ingredients you use would that be enough for me,i do have on hand corn strach, hershey’s cocoa that 100% cacao natural. Unsweetened will that work.
I think that would work!
I was pretty skeptical about this because I didn’t know how my skin would react but my skin looks so flawless and I’m ABSOLUTELY LOVING it. Thanks Johanna