
A few weeks ago (yes my blogging is behind) we used an egg for our science time learning. We made “naked eggs” or eggs with the shell removed just in the delicate membrane. I’ve seen it done before and decided it would be a great experiment for my girls to do.
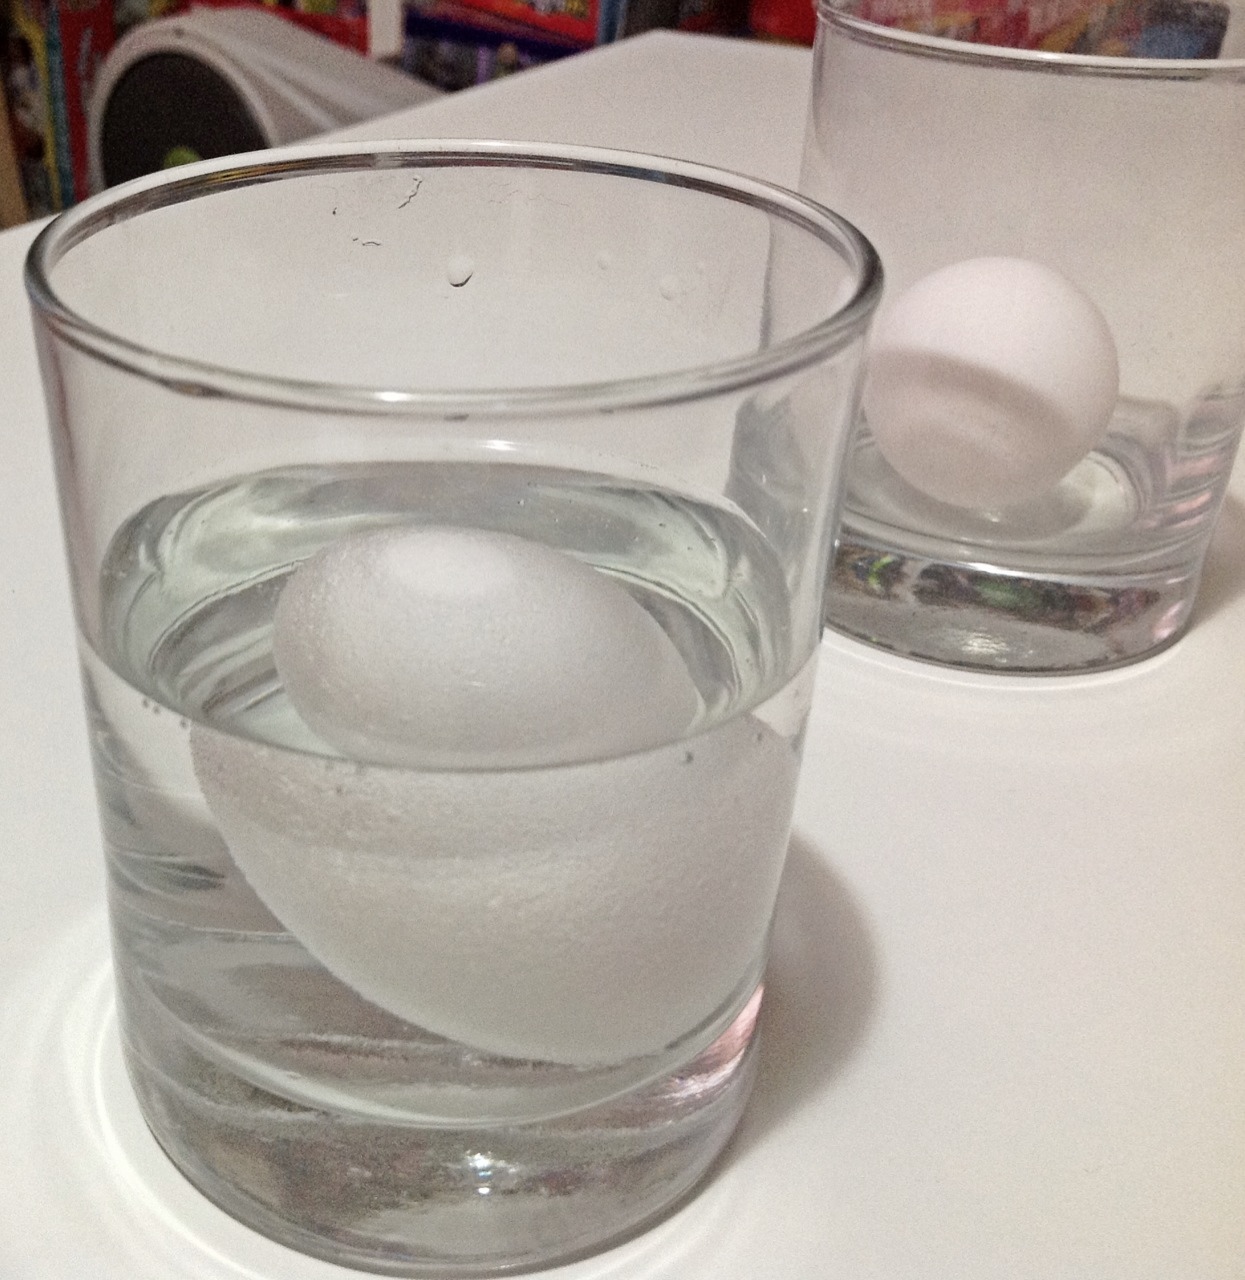
First we just took two plain eggs and put them in clear glasses and filled the glasses with white vinegar until the eggs were totally covered.
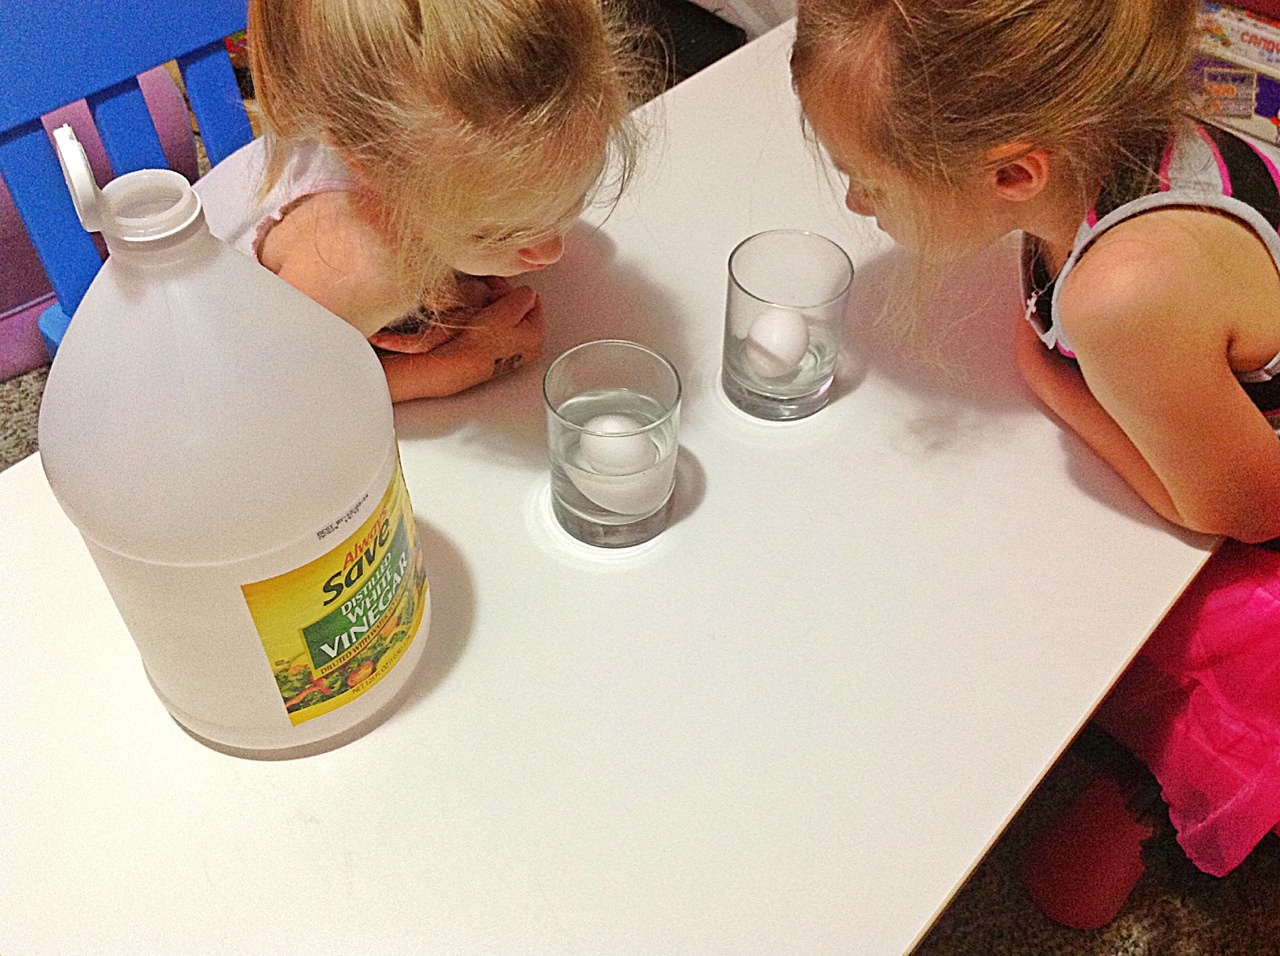
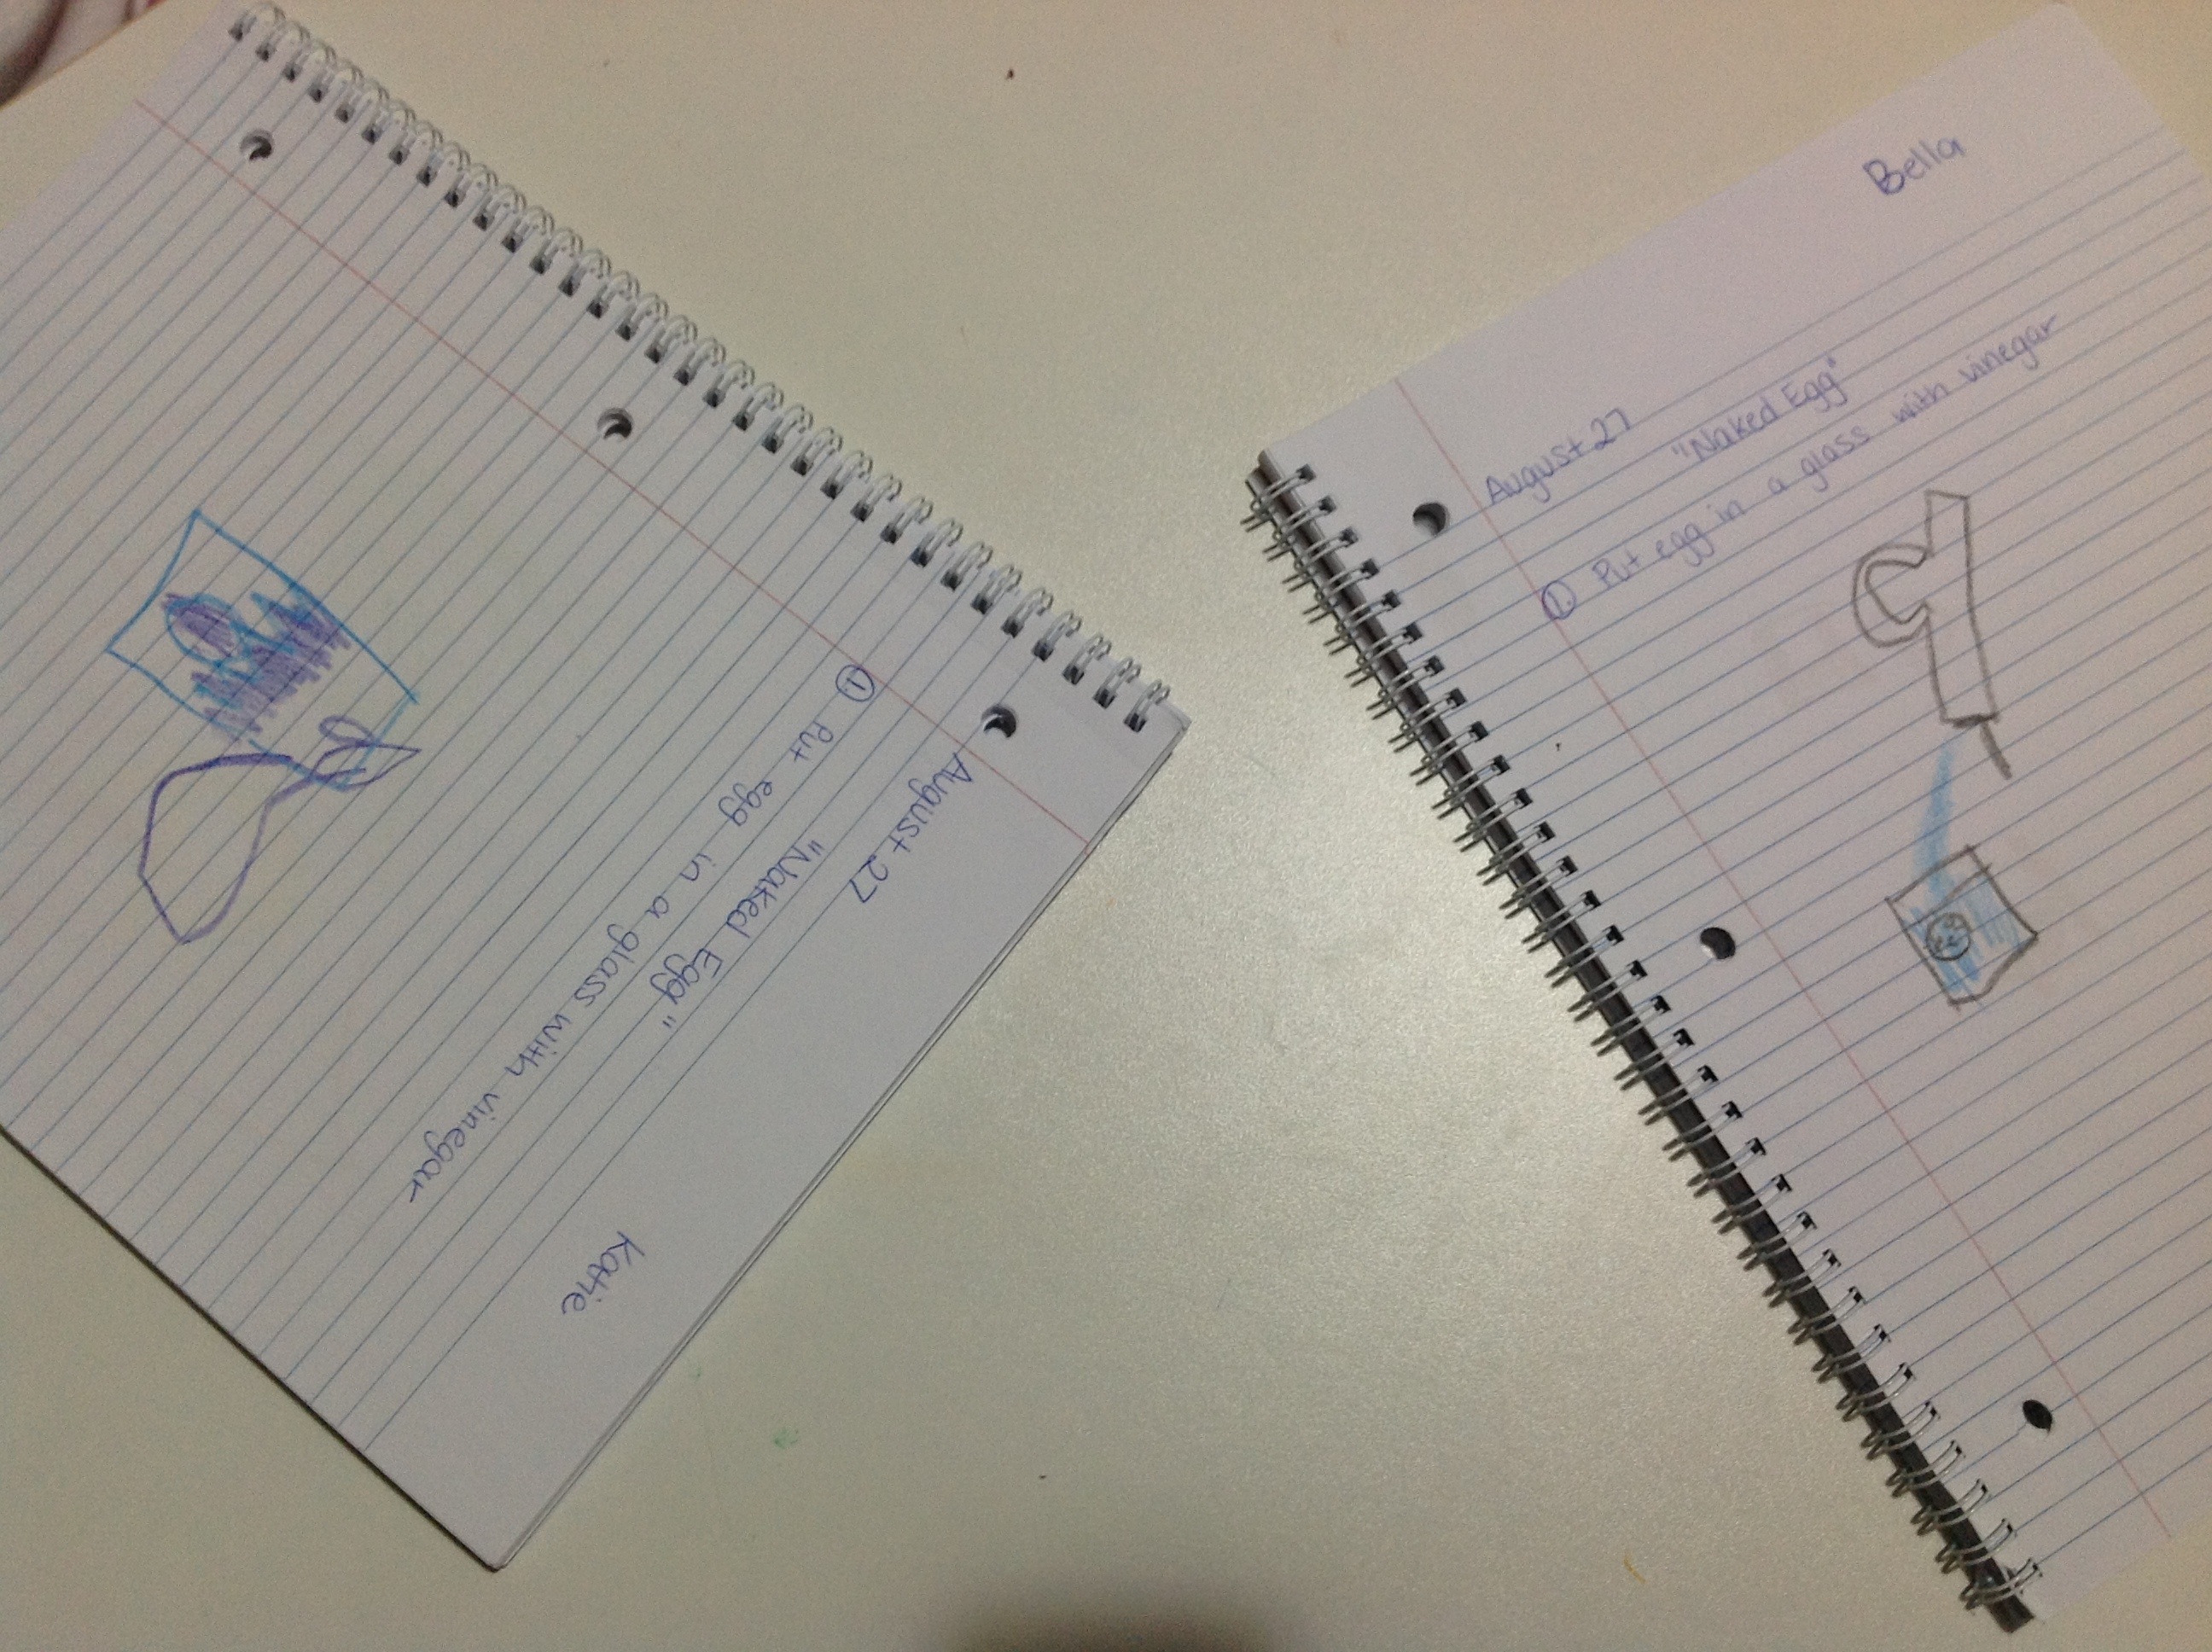
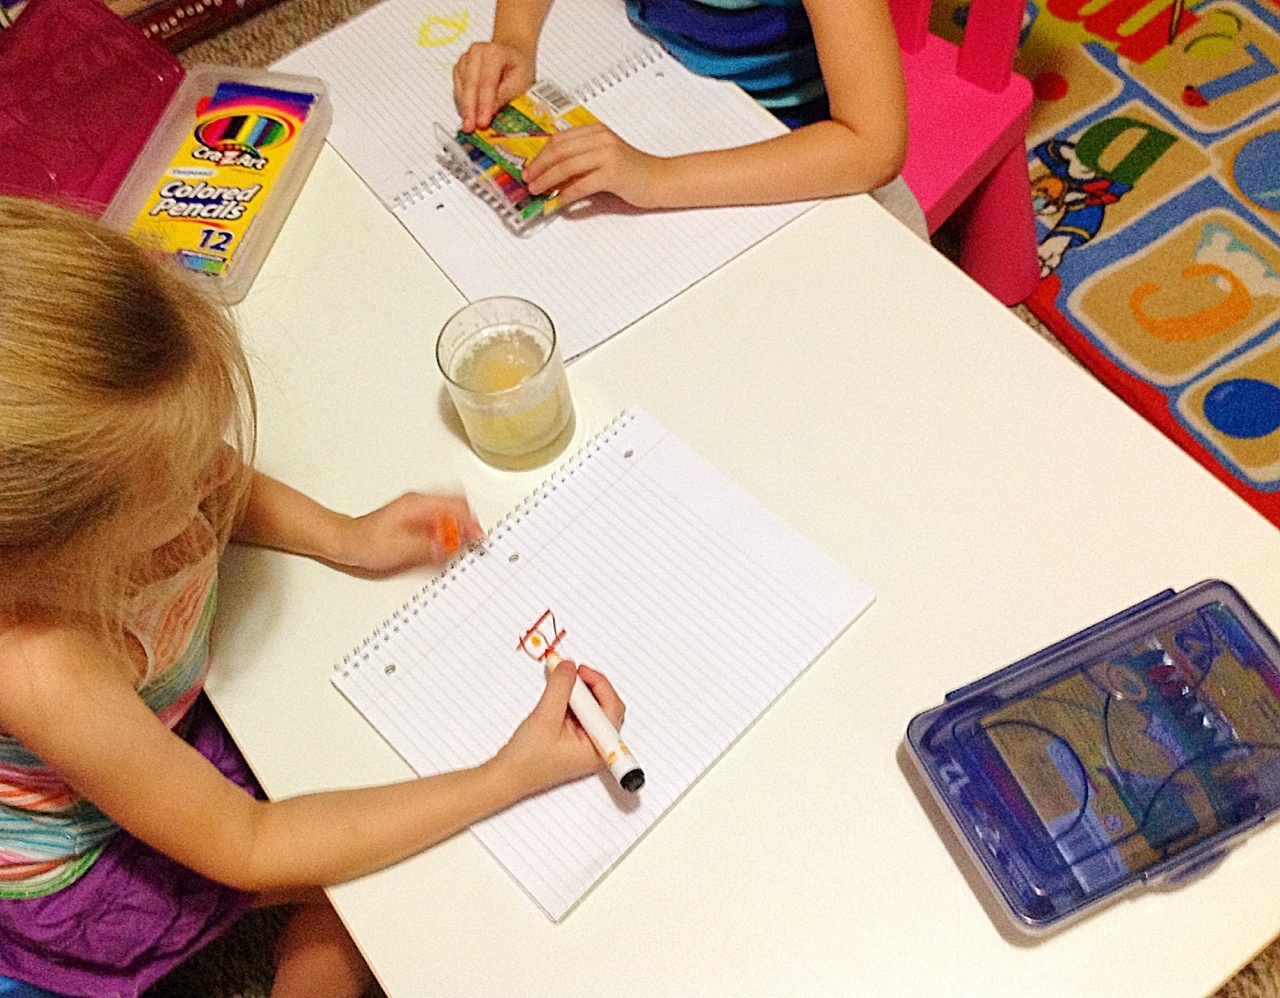
Then we watched as tiny bubbles started forming on the egg shell. I had the girls draw these first steps in their science journals. I write the date and experiment name on a page and then step 1 instructions and they draw a picture of each step as we go along. It helps them talk about what they are seeing and work through the experiment again in drawing. They loooove their science journals and we’ve used our current ones for about 7 experiments so far.
Next we let it sit overnight.
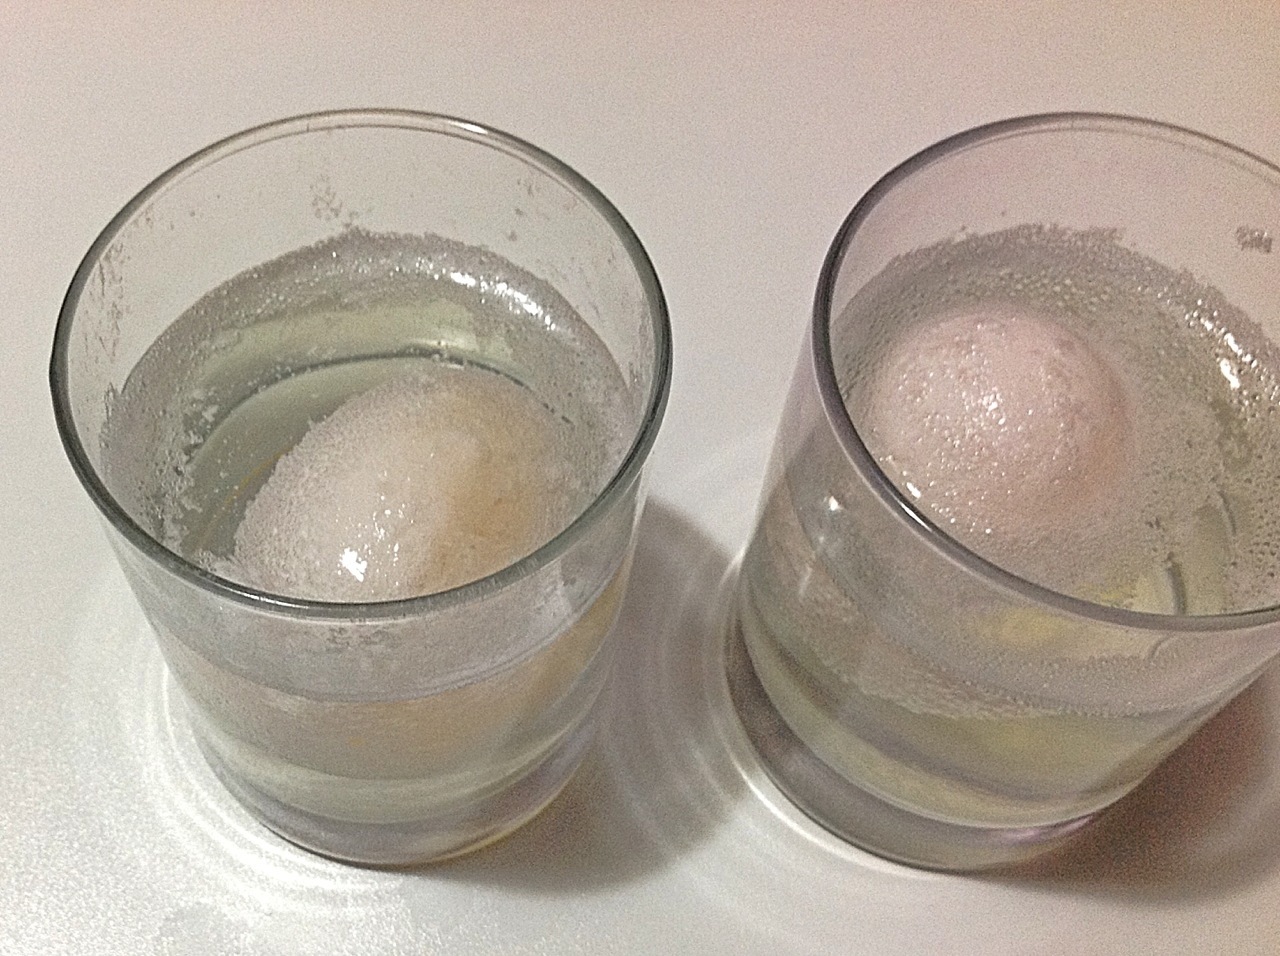
The next morning they looked like the above picture. Lots of bubble and coming apart. First we journaled some more. Then we picked them up and gently rubbed off the dissolved shell.
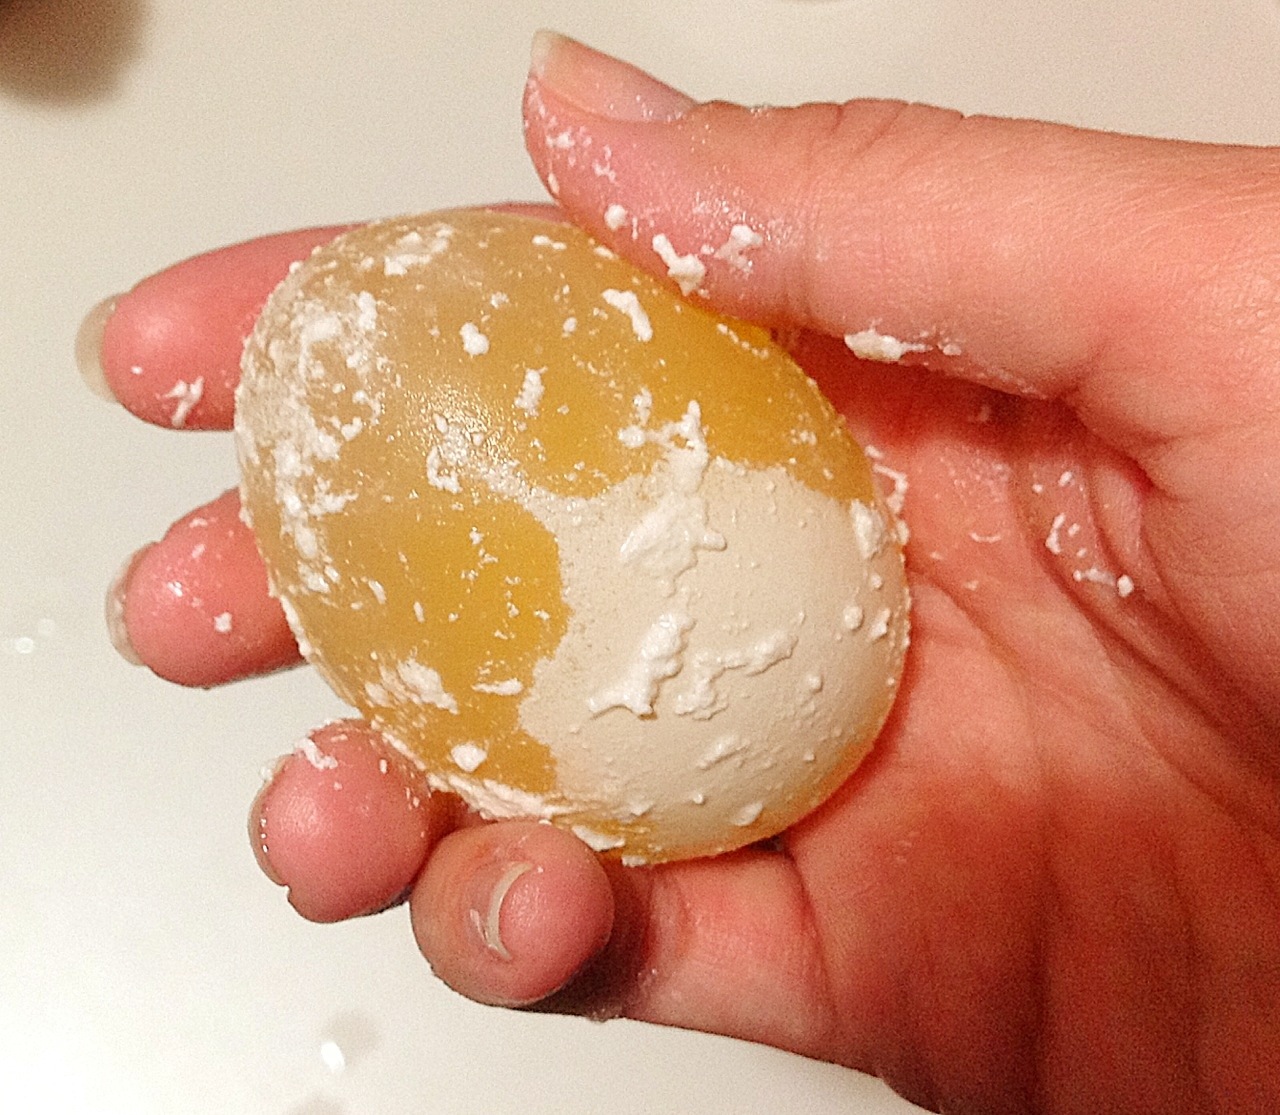
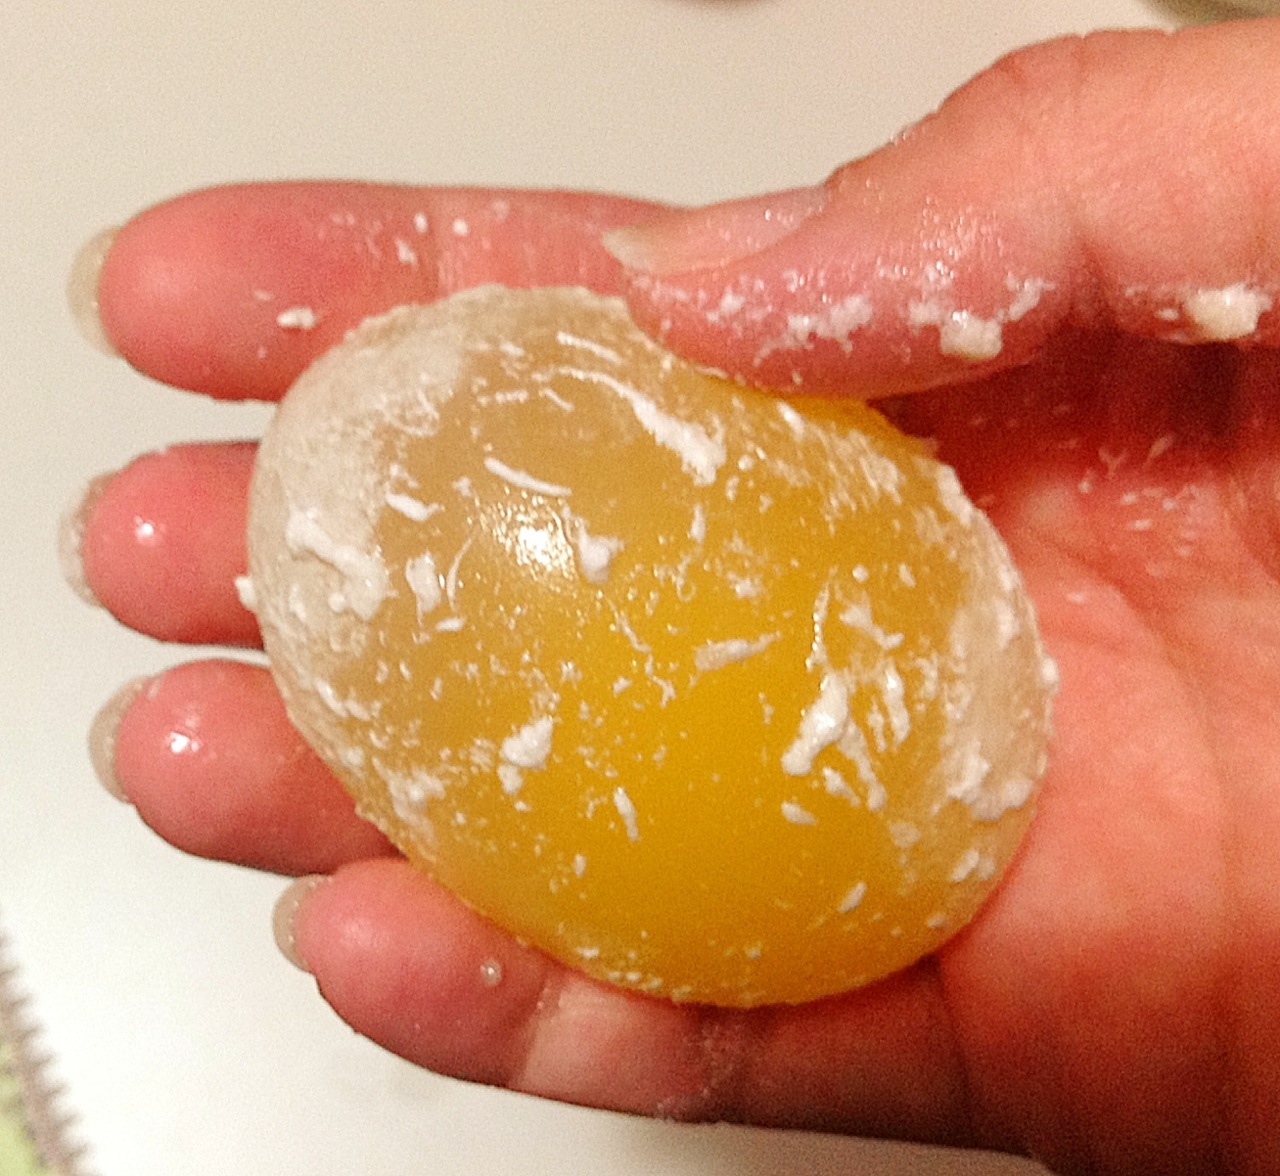
After rinsing off the eggs were “naked” just in their fragile membranes.
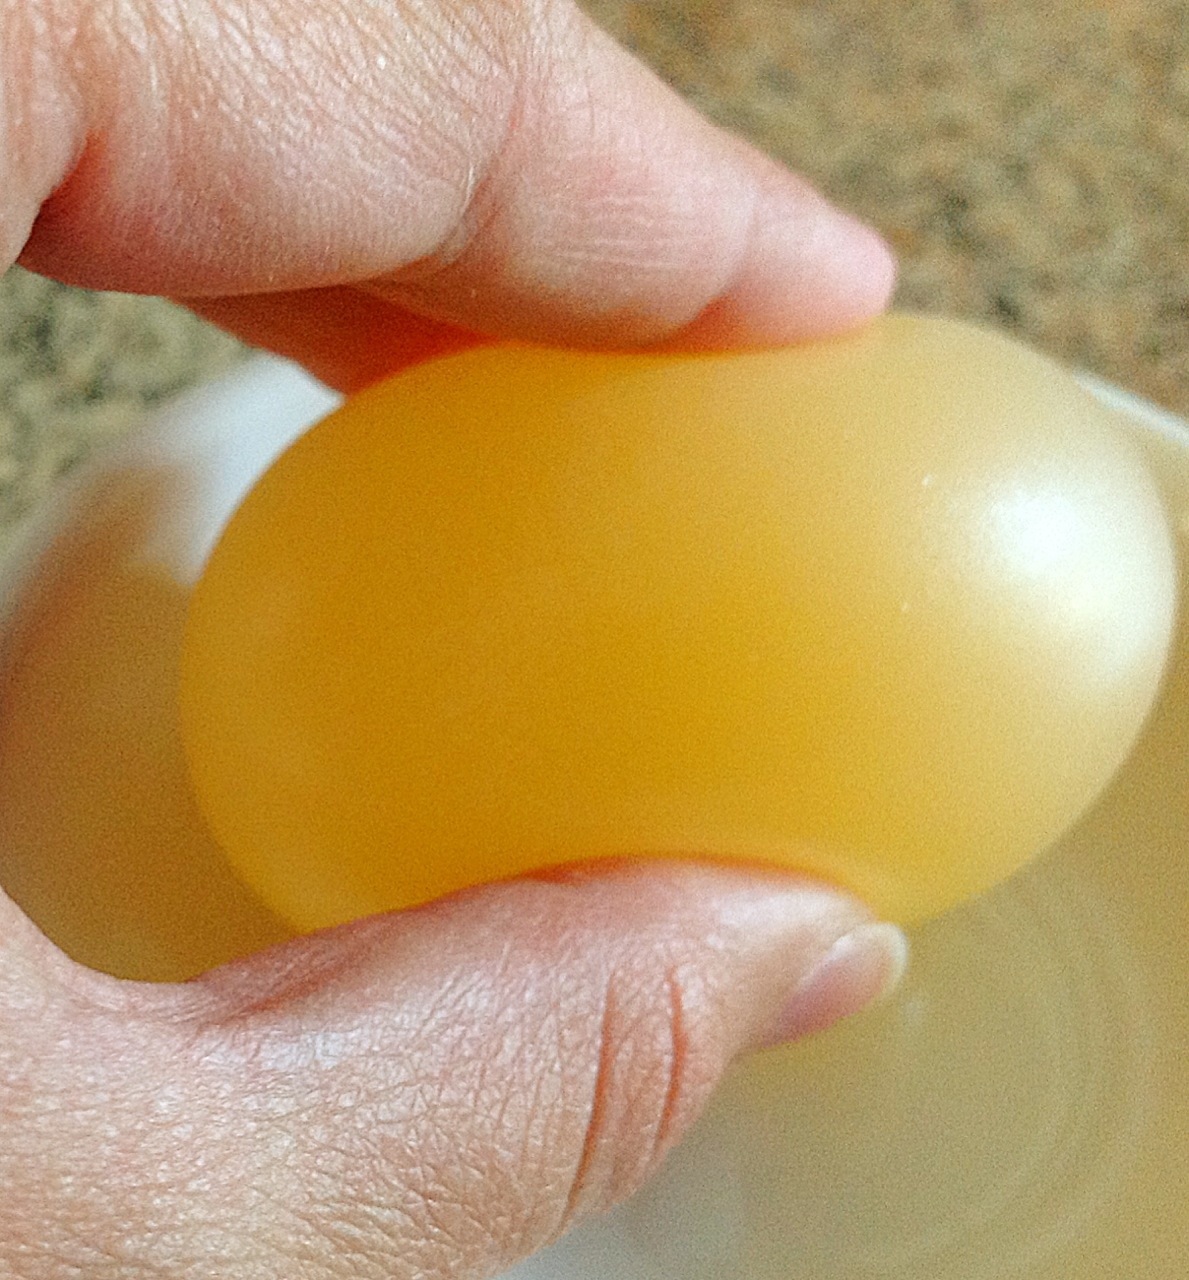
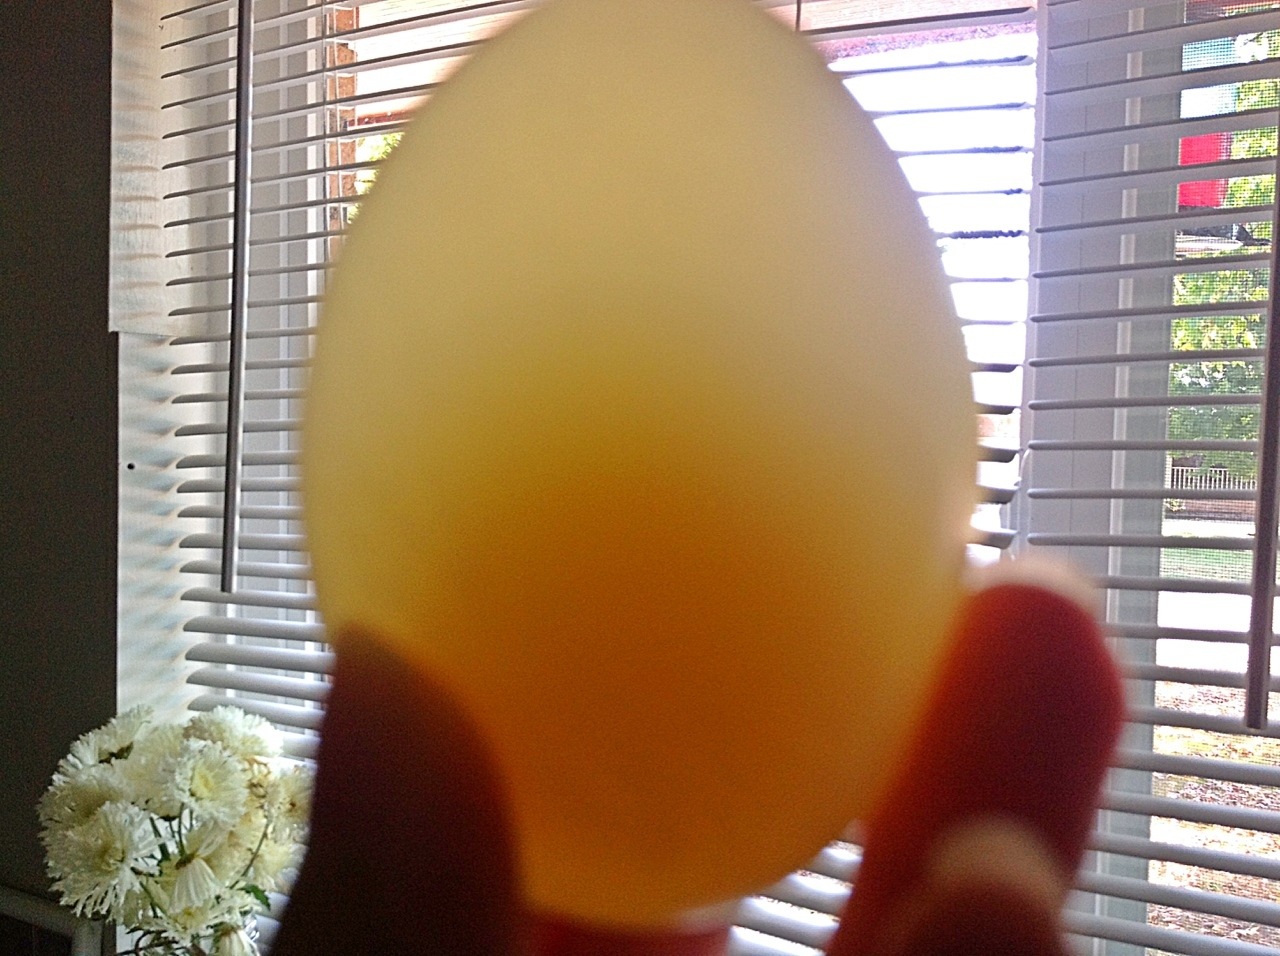
The kids loved this, we even tested the egg by gently bouncing it a bit only an inch or two off the table. Next we let it sit out over night and dehydrate a bit. Our next plans for the egg were to demonstrate osmosis by placing it in a cup overnight with colored water. The water easily permeates the membrane and the egg can grow much larger than normal because the hard shell is gone.

First we put drops of blue food coloring in a cup of water.
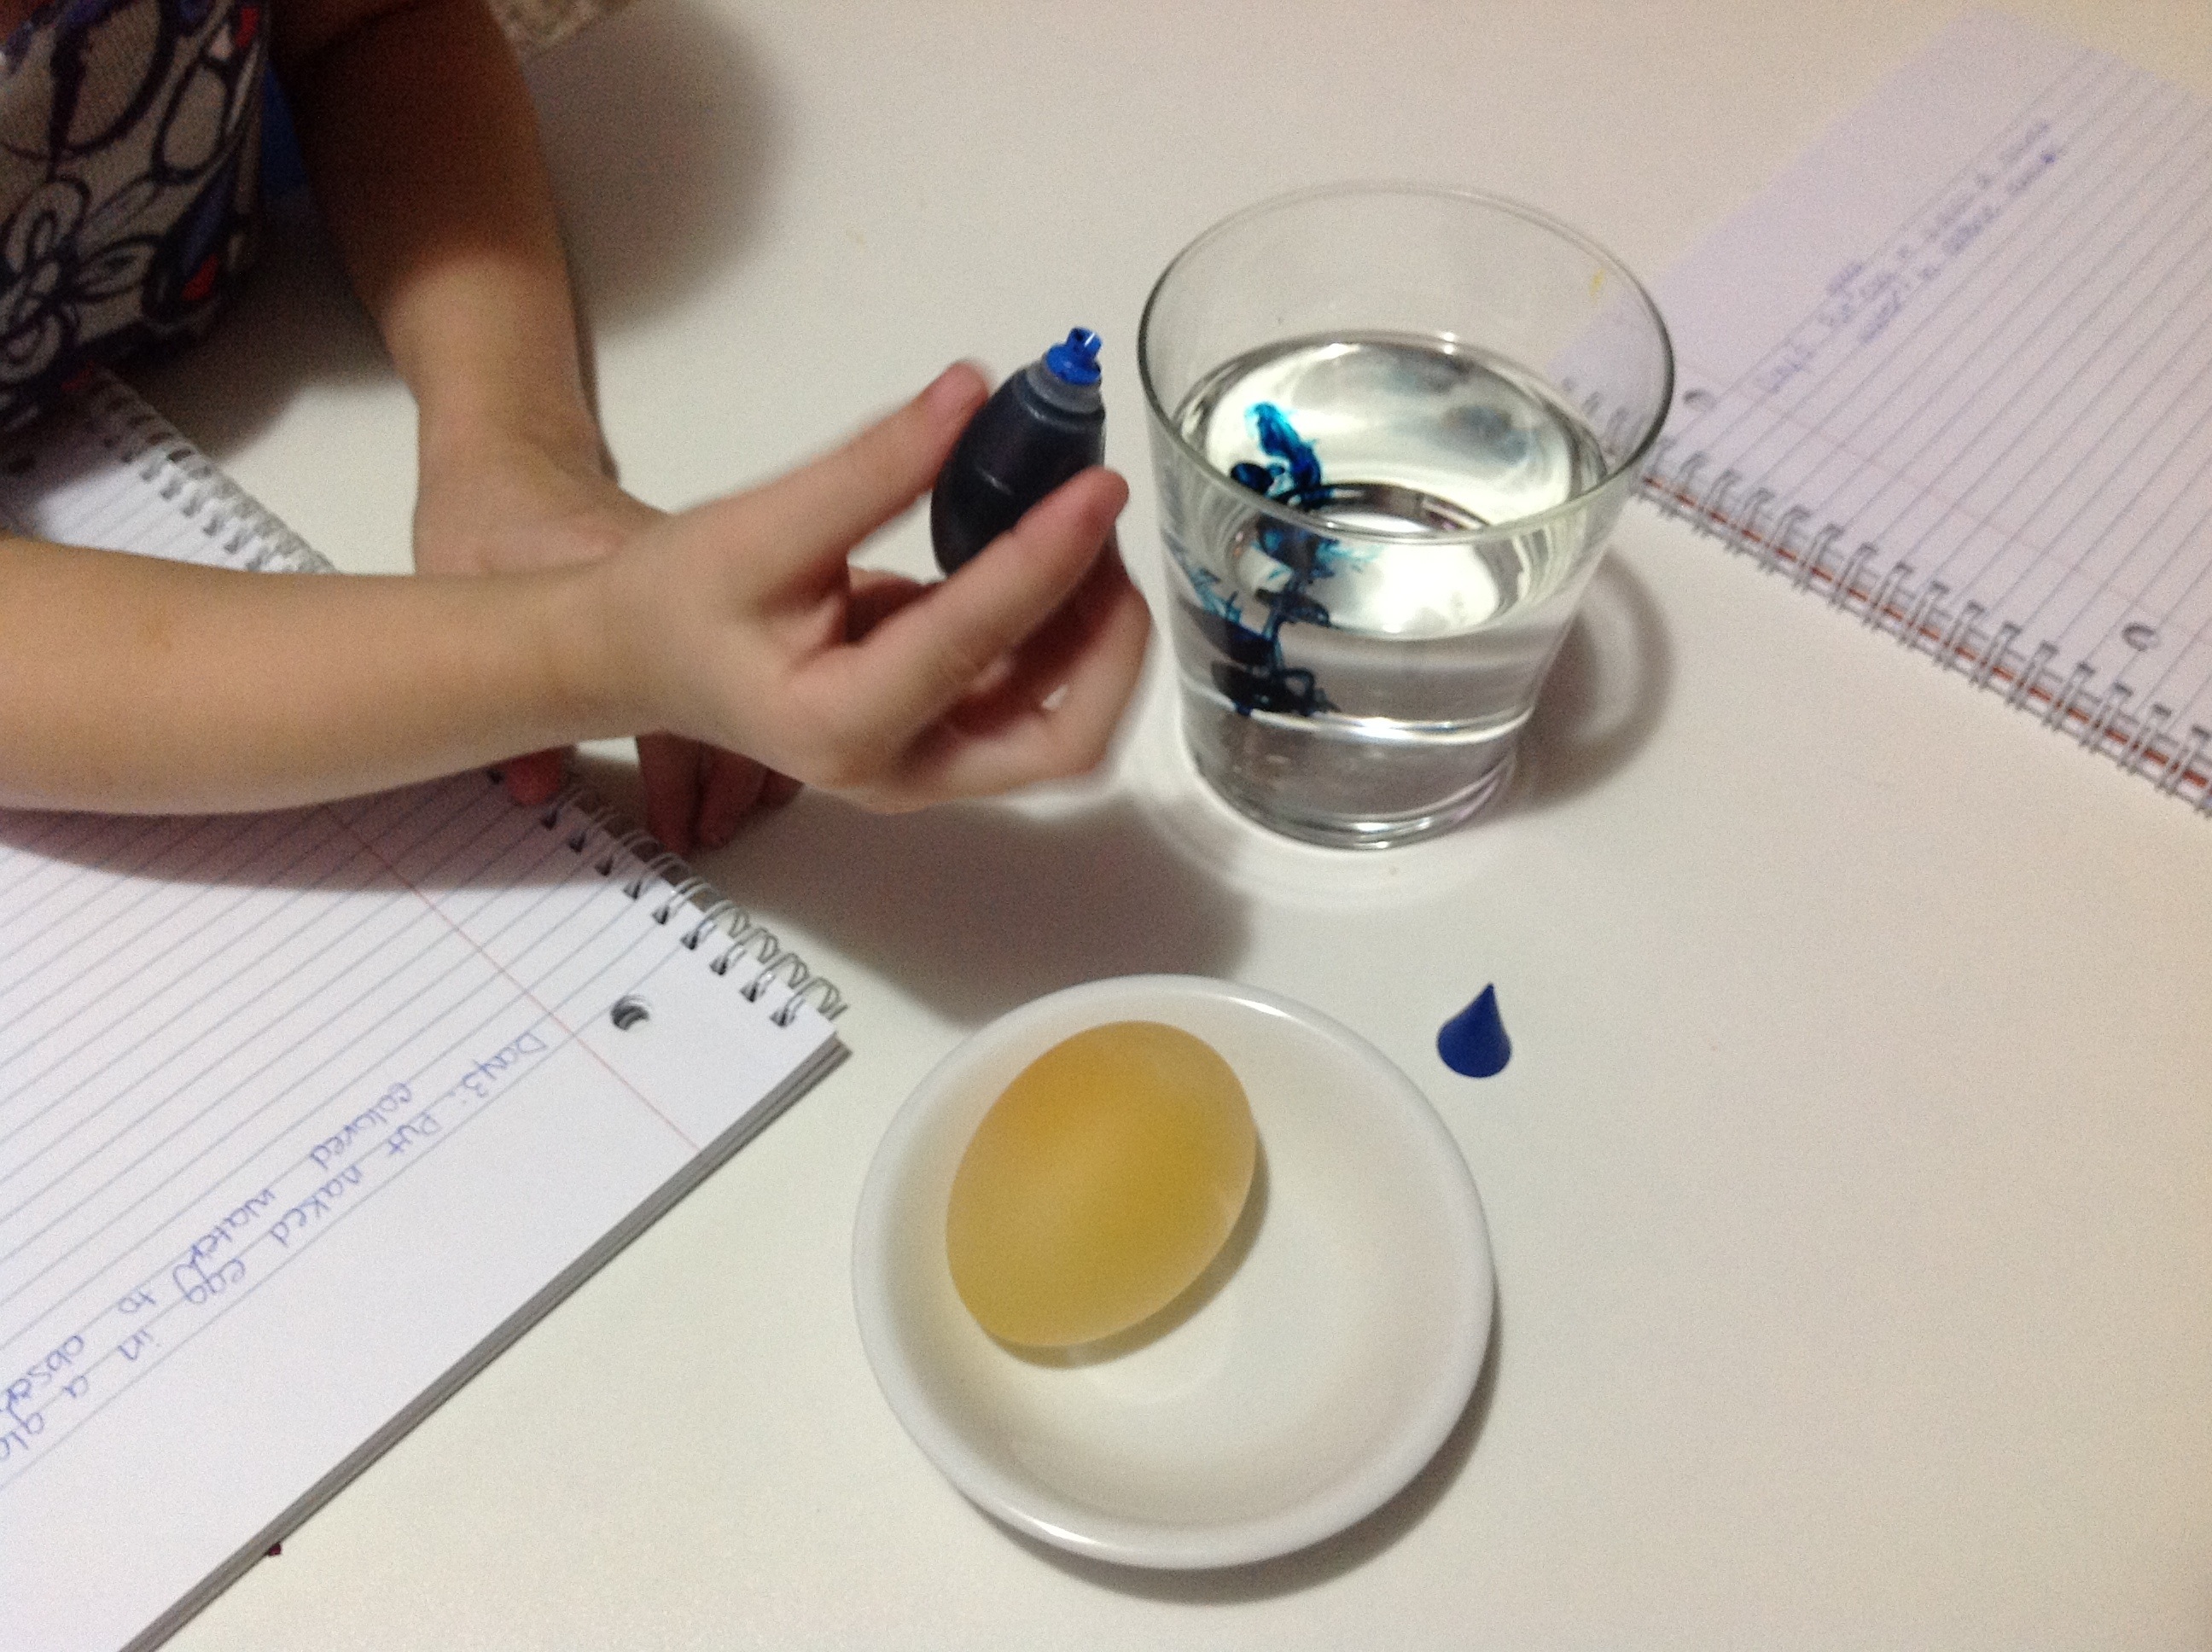
Then we put the egg in the cup of blue water.

Of course we journaled the process! Love my excited little scientists 🙂
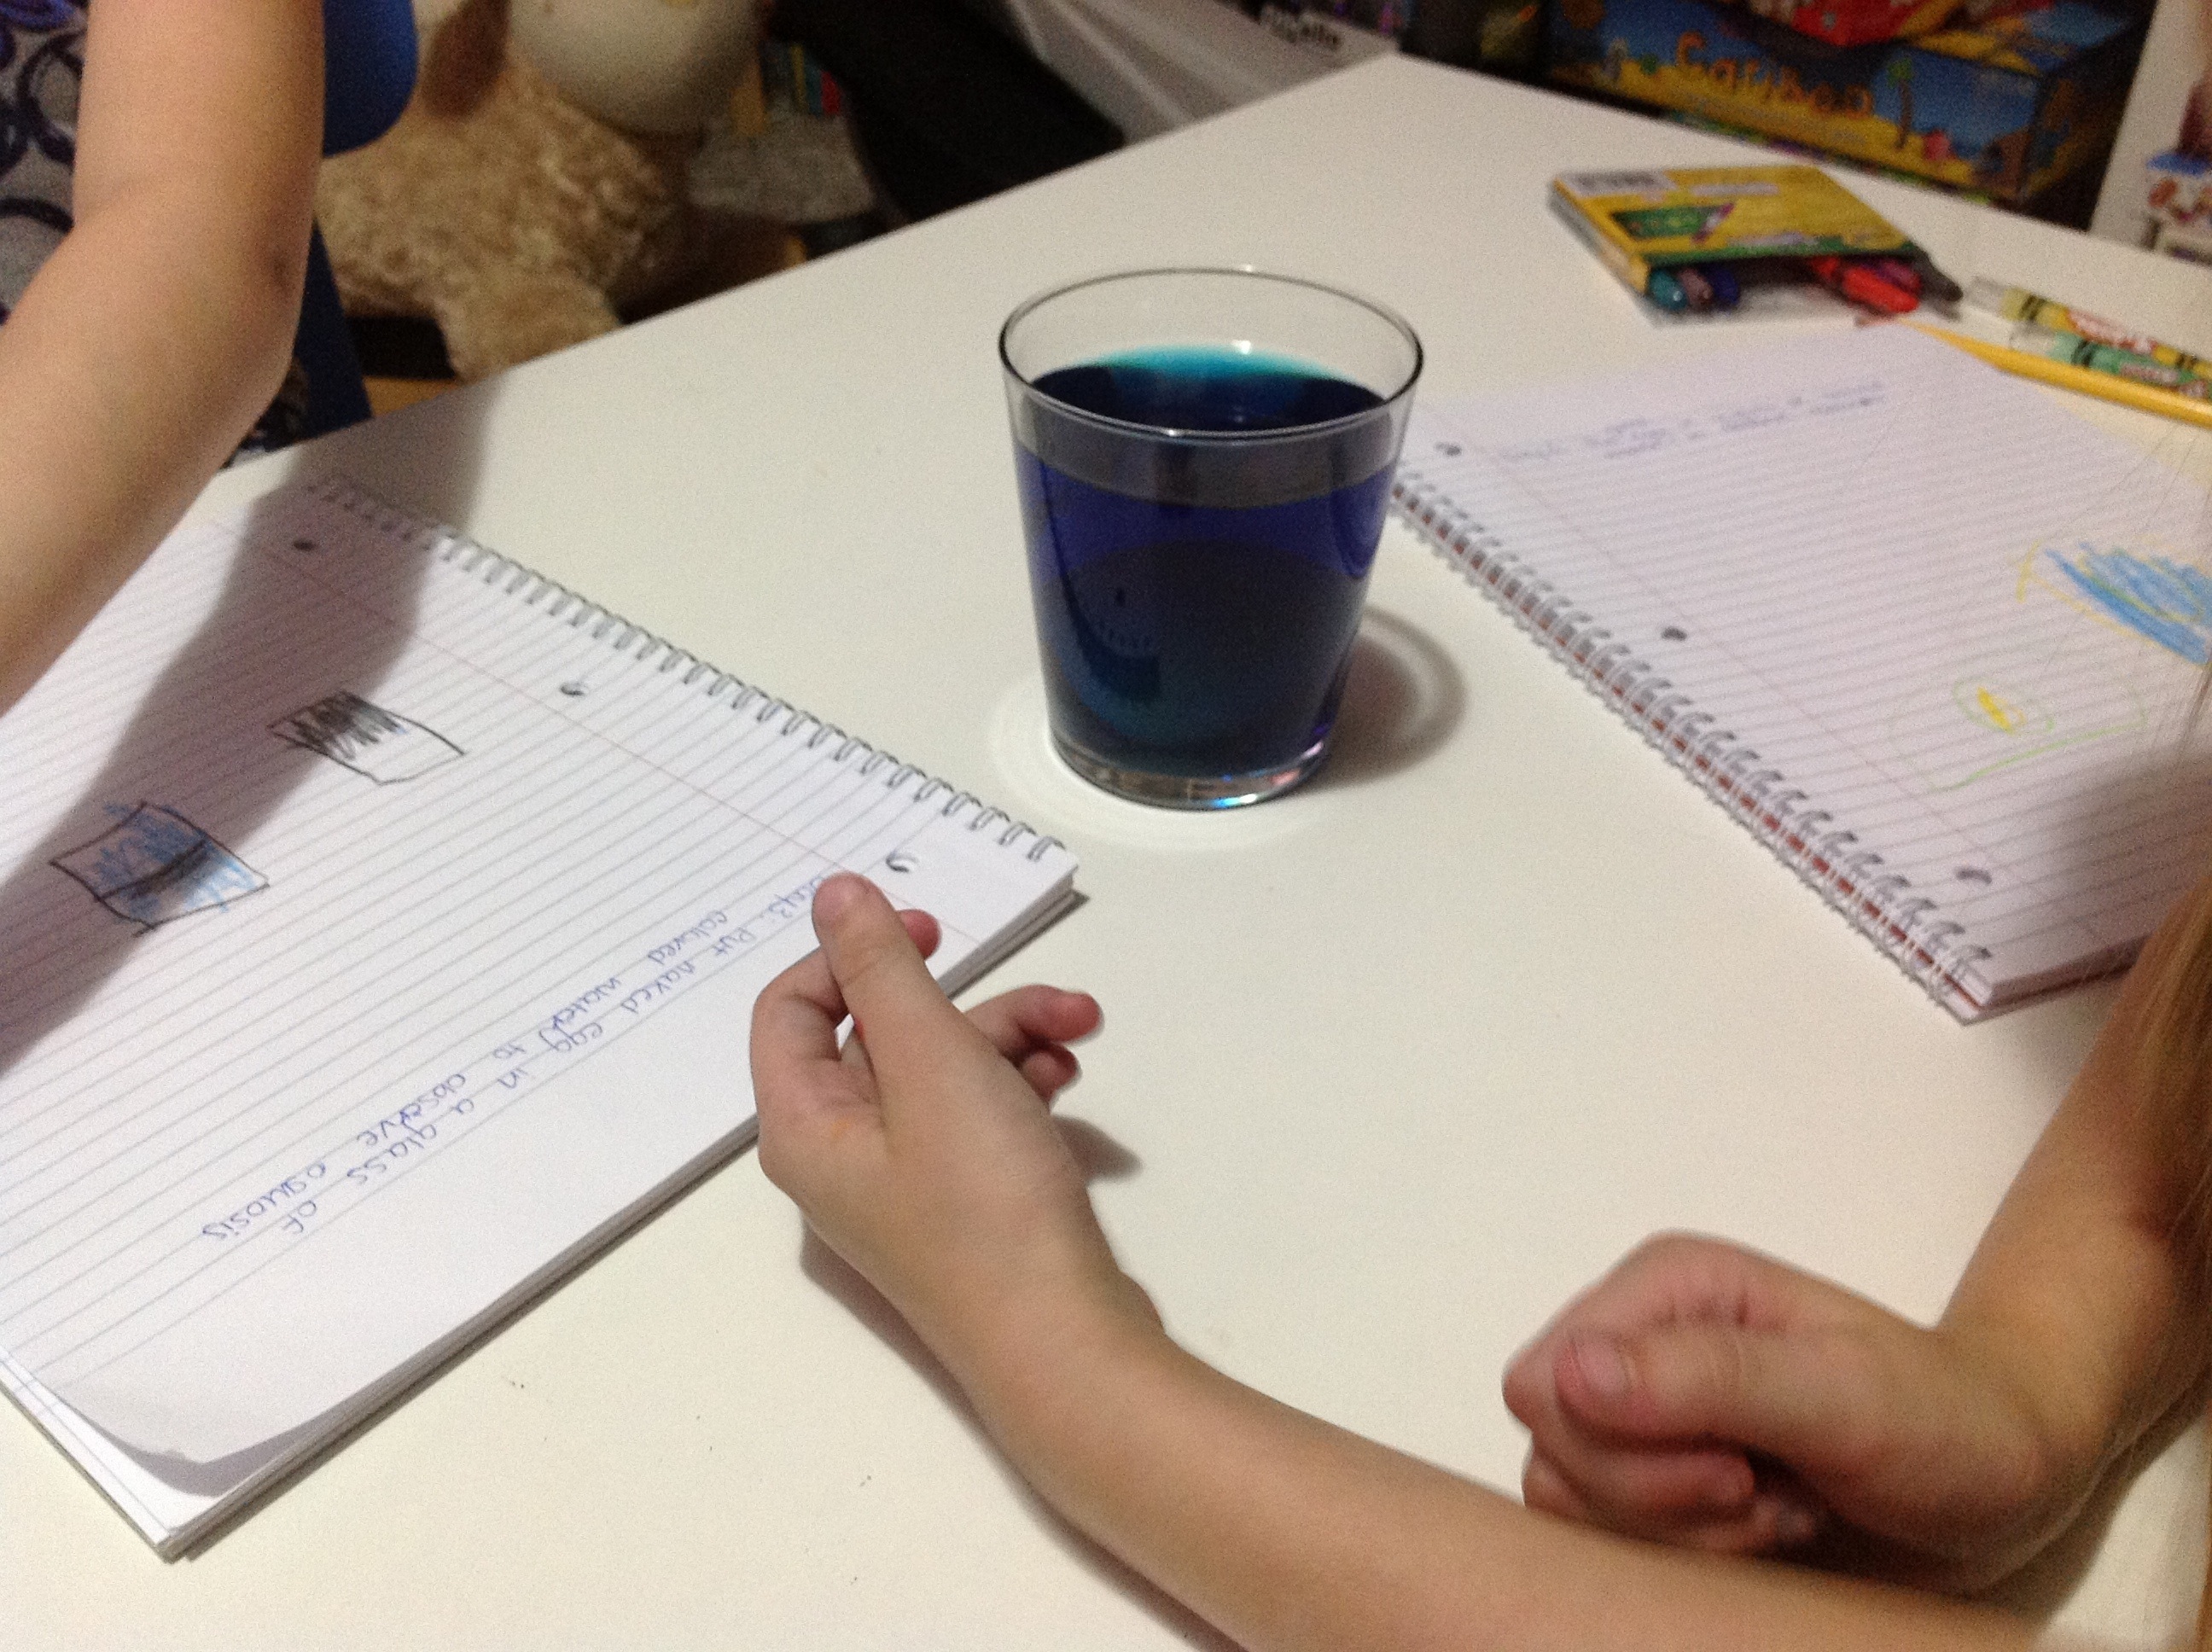
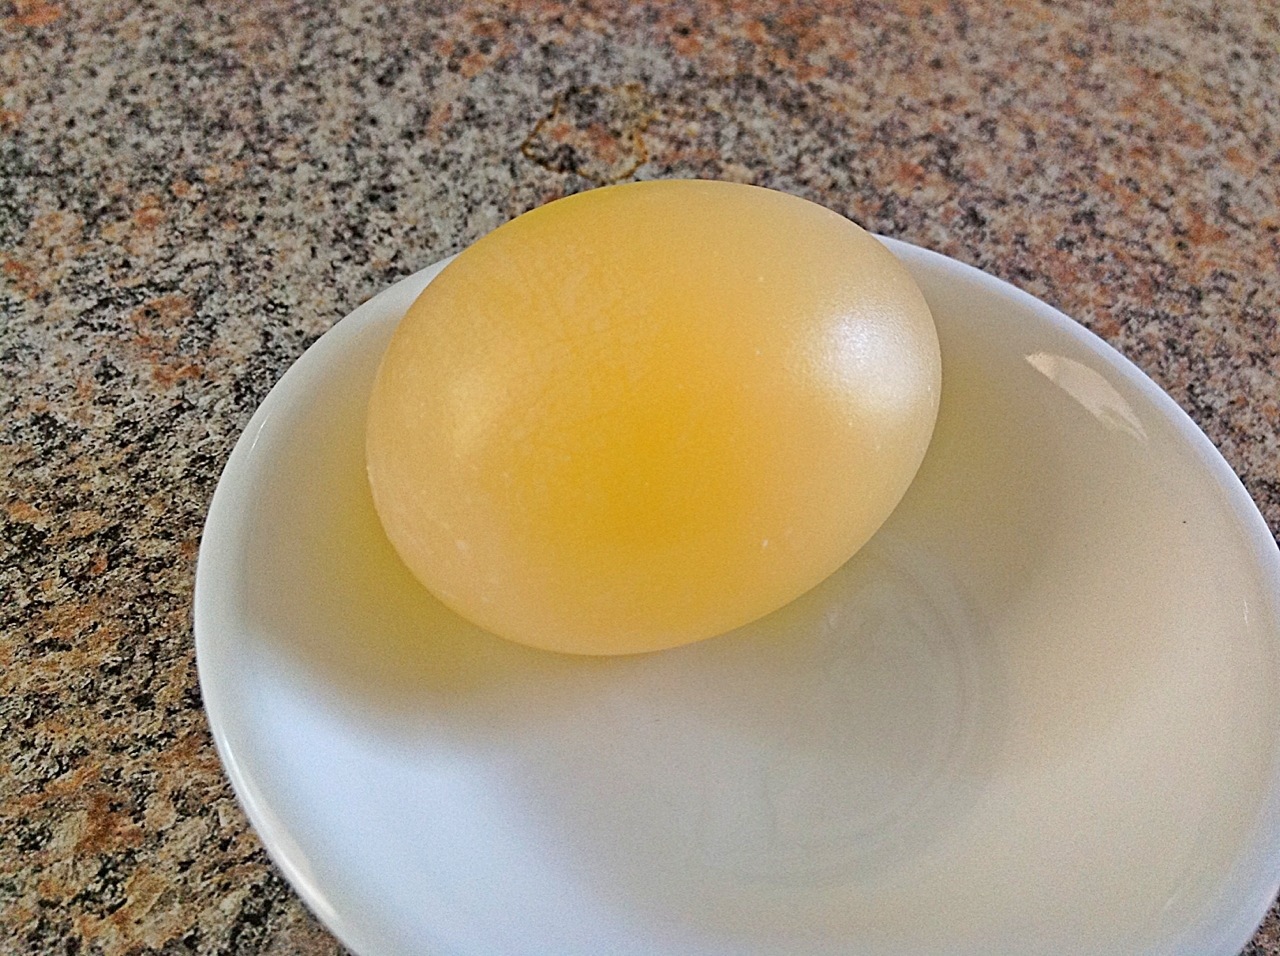
The next day the egg was definitely blue and much larger than an egg with a shell.

I love exploring with my girls and letting them learn hands on. This was a fun multi-day experiment. Thanks for stopping by 🙂
Johanna


1 thought on “Naked Eggs!”